Hardness is defined as a measure of how well materials resist localized deformation, such as impacts, indents, or scratches. Although it is a well-understood physical property, it is much more complex than other characteristics in that it is relative to different types of loading forces.
Essentially, hardness is only a measure of how well a material performs in a given hardness test. As a result, there are various hardness testing methods and techniques available to researchers today. In this article, we want to look into the four different methods of indentation hardness testing methods.
Rockwell Hardness Testing
First developed over one hundred years ago, the Rockwell hardness test is a rapid hardness testing method primarily used for quality assurance and production control. It uses a diamond cone or steel ball to first apply a minor load of around 3kgf before an additional major load is applied; typically, exceeding 10kg. Measuring the permanent change in depth from the minor baseline enables engineers to calculate the Rockwell hardness number.
Brinell Hardness Testing
Like the Rockwell scale, Brinell hardness testing typically concerns larger loads approaching a nominal maximum force of 3,000kgf which requires a larger, harder indenter tip. Brinell indenters have spherical tungsten carbide tips that leave a relatively wide, deep impression on surfaces. As a result, Brinell hardness testing is typically used for larger samples.
Knoop Hardness Testing
Knoop hardness testing was developed specifically to enable characterizations of brittle, or thin samples like ceramics or surface coatings. The heavy loads and robust, spherical indenters of the previous two hardness testing methods were unsuitable for such fragile materials. Instead, Knoop microhardness testing involves loads of no greater than 1kgf, which are applied using a characteristic elongated pyramidal probe tip.
If you want to learn more, read our previous article: What is Knoop Microhardness Testing?
Vickers Hardness Testing
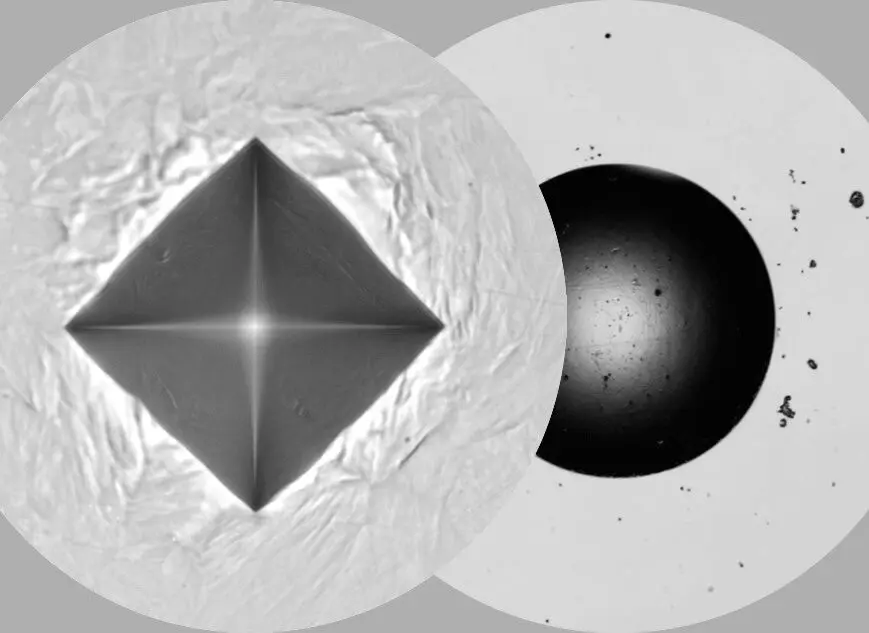
Finally, Vickers hardness testing is most like Knoop microhardness in that it involves loads of no greater than 1kgf and eschews the ball-shaped indenters of production-scale hardness testers. A Vickers probe is a uniform pyramid which is pressed into a surface and allowed to dwell for a pre-defined period before the probe is removed. The diagonal length of the resulting impression is then measured and used to calculate hardness.
Hardness Testing with Clemex
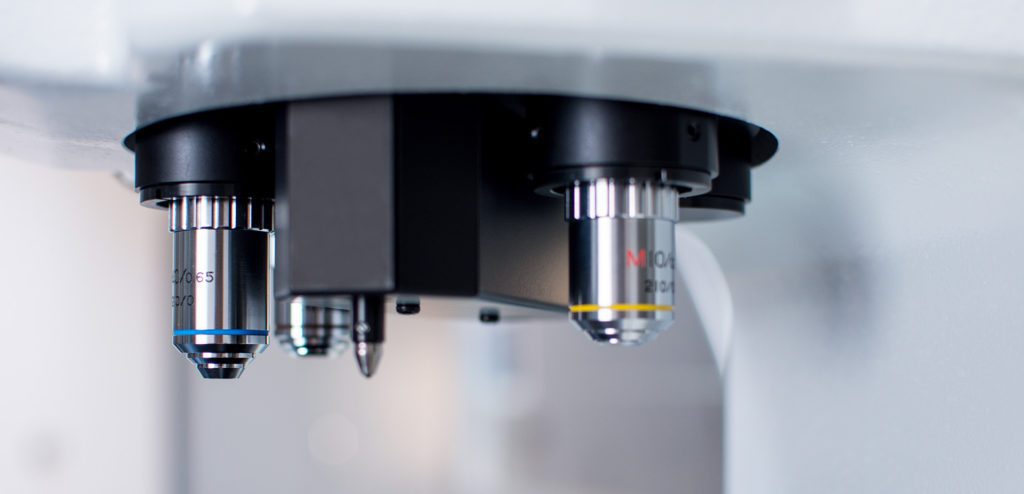
Clemex is one of the industry-leading suppliers of intelligent microscopy solutions, providing turnkey systems for dynamic hardness testing. Our systems cover test loads of 0.3 kgf up to 30kgf, with high flexibility for distinct hardness testing methods. Why not contact a member of the Clemex team today if you have any queries?


