AUTOMATED HARDNESS TESTING
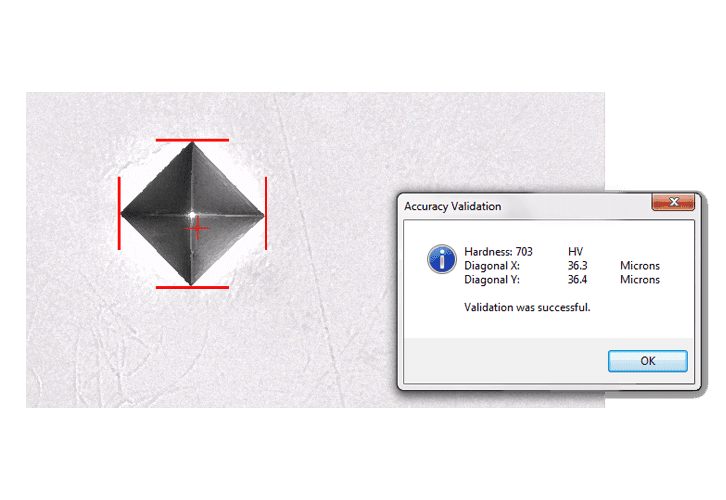
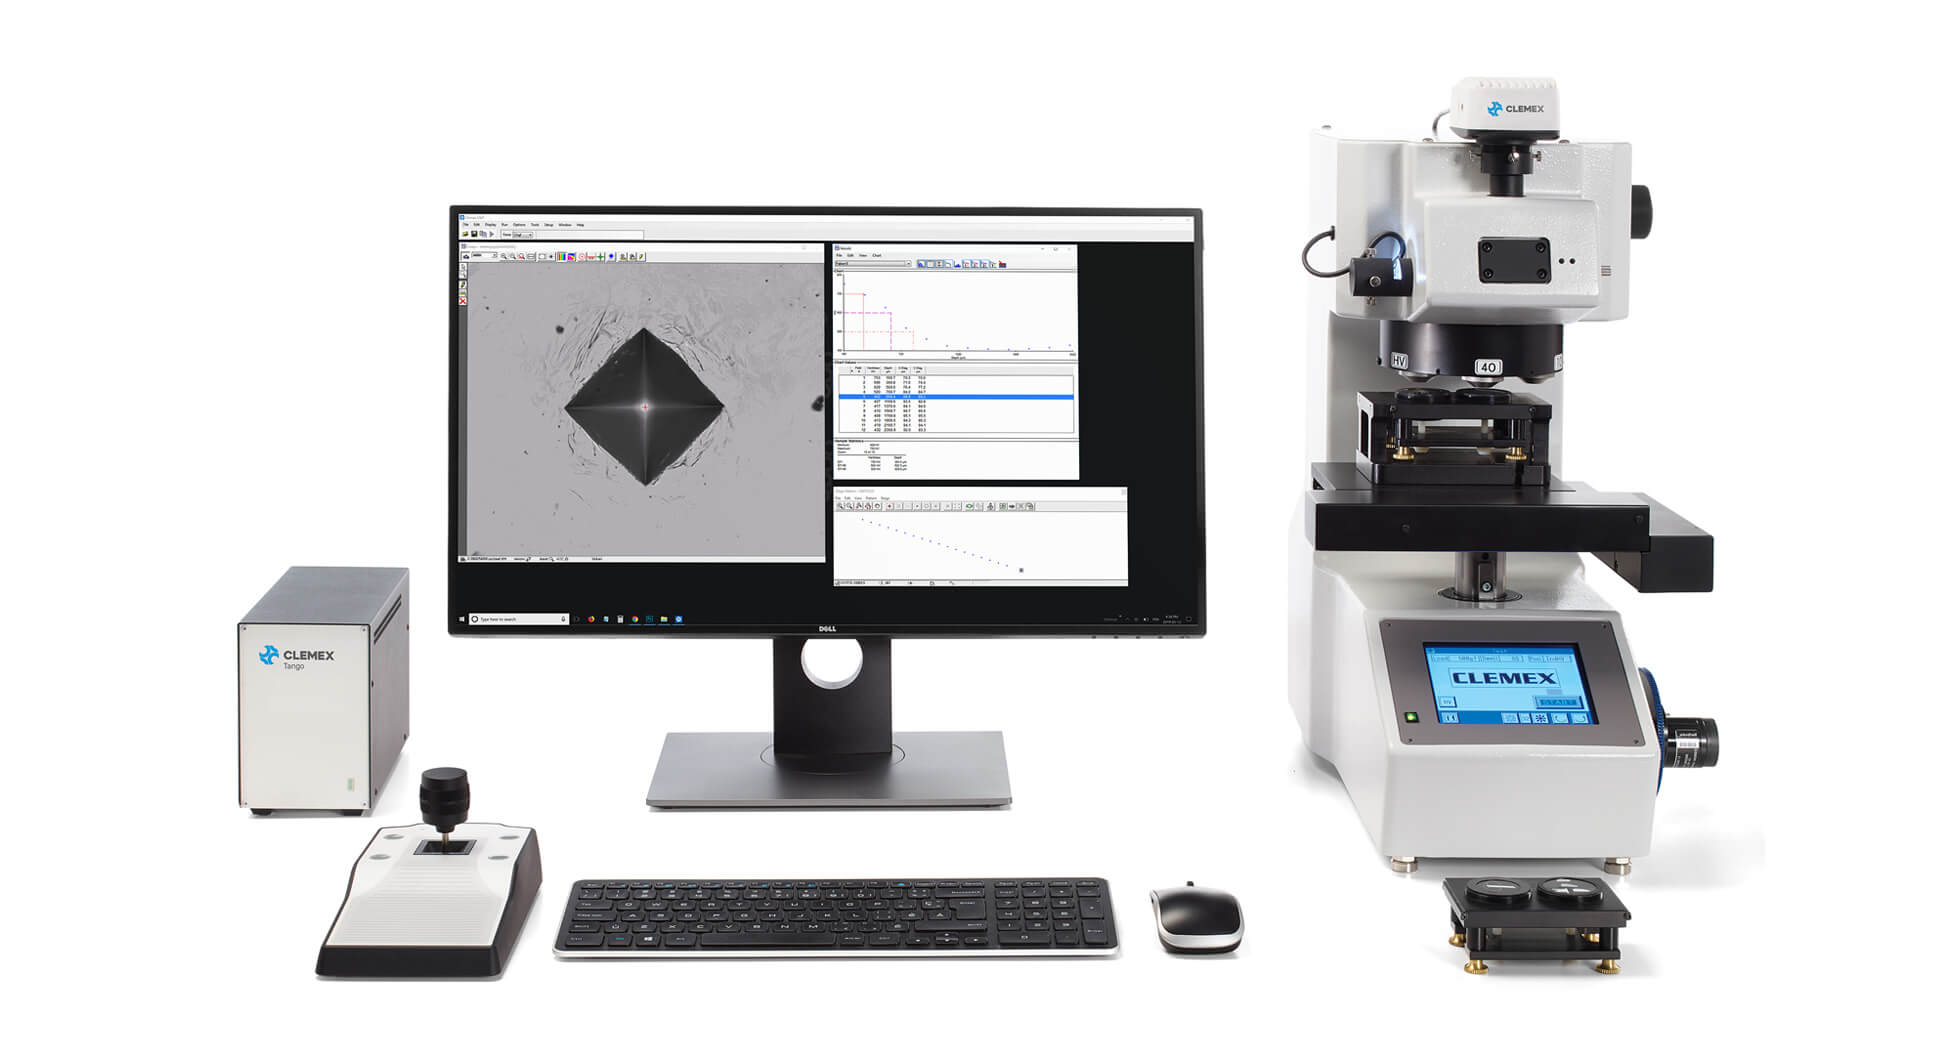
Clemex CMT hardness testing solutions produce repeatable and reproducible results. The auto-focus for obtaining sharp images and the built-in validation function assure furthermore accurate results. Add some image analysis modules to the CMT software and turn your hardness tester into a microscope!
LOAD CELL TECHNOLOGY
In this short video we explore the different uses of hardness testing and why you should look at investing in a Load Cell tester.
TYPES OF ANALYSIS
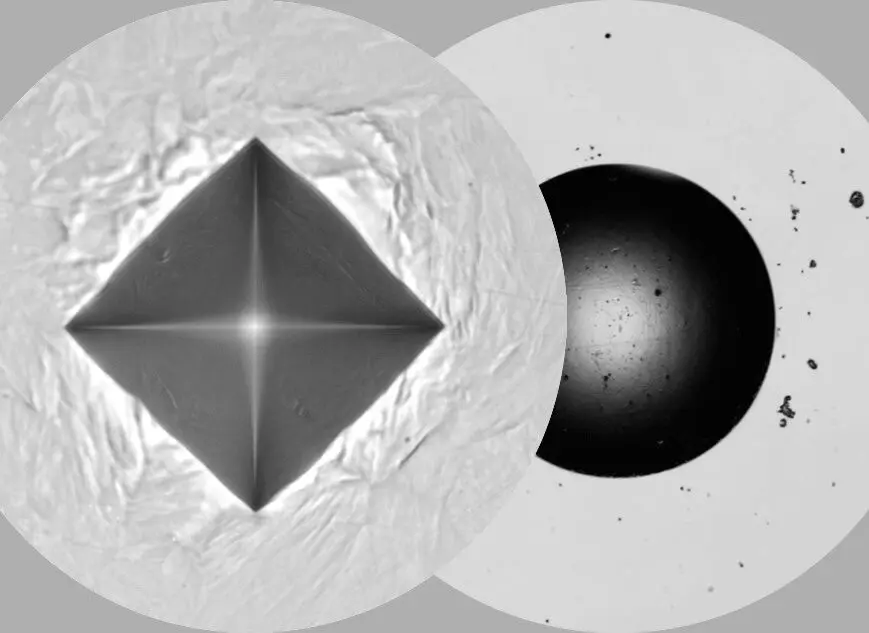
Our automated hardness systems are designed to generate test results according to the following most recognized standards.
- ASTM E384
Standard Test Method for Microindentation Hardness of Materials
- ASTM E92
Standard Test Methods for Vickers Hardness and Knoop Hardness of Metallic Materials
- ASTM E10
Standard Test Method for Brinell Hardness of Metallic Materials
- ASTM E140
Standard Hardness Conversion Tables for Metals Relationship Among Brinell Hardness, Vickers Hardness, Rockwell Hardness, Superficial Hardness, Knoop Hardness, and Scleroscope Hardness
- ISO 4545
Metallic materials – Knoop hardness test
- ISO 6506
Metallic materials – Brinell hardness test
- ISO 6507
Metallic materials – Vickers hardness test
- ISO 18265
Metallic materials – Conversion of hardness values to equivalent values in other hardness scales and estimation of tensile strength
KEY FEATURES OF CMT HARDNESS TESTING SOFTWARE
AUTOMATED FOCUS
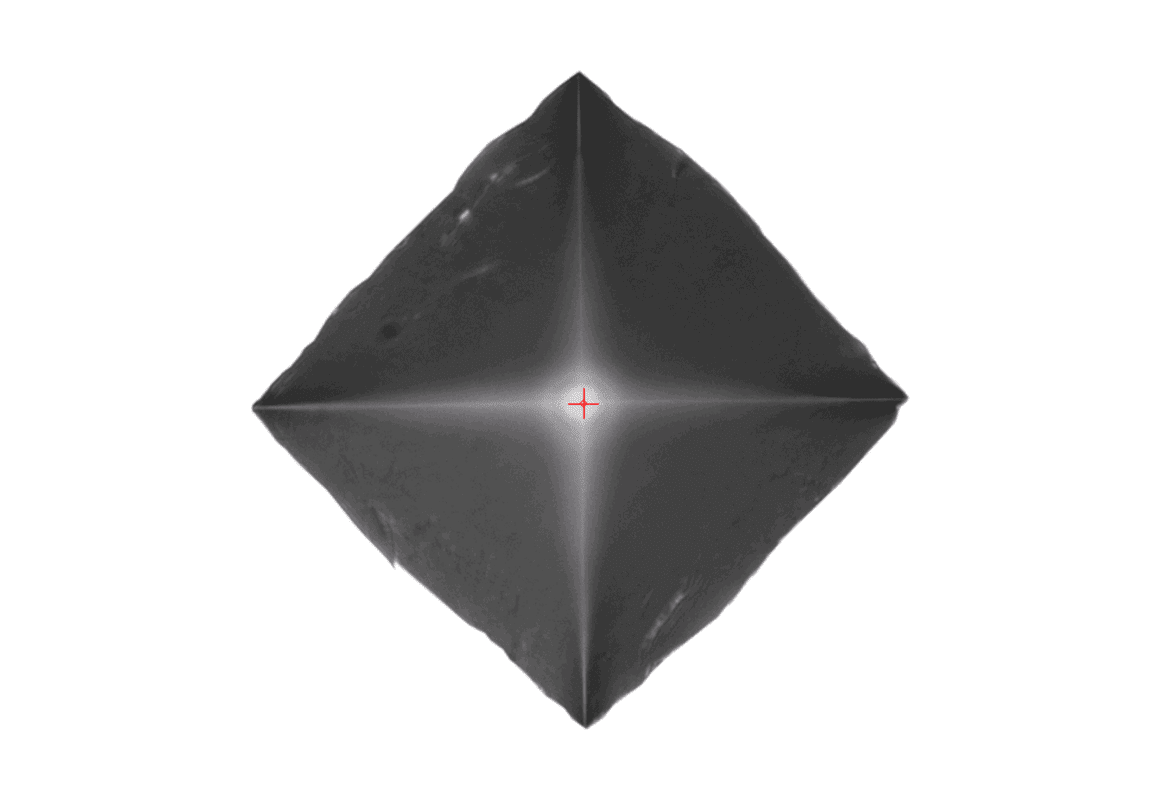
Obtain sharp images thanks to automated focus and fast image optimization, ensuring reproducible results.
AUTOMATIC SHADING CORRECTOR
Ensures even illumination for images captured using the system’s camera.
POWERFUL DETECTION
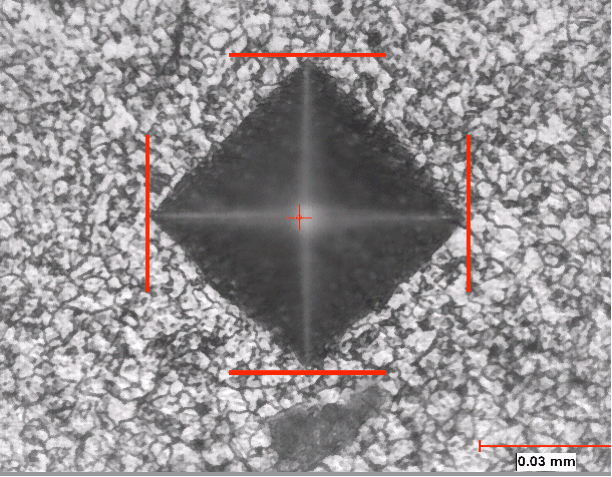
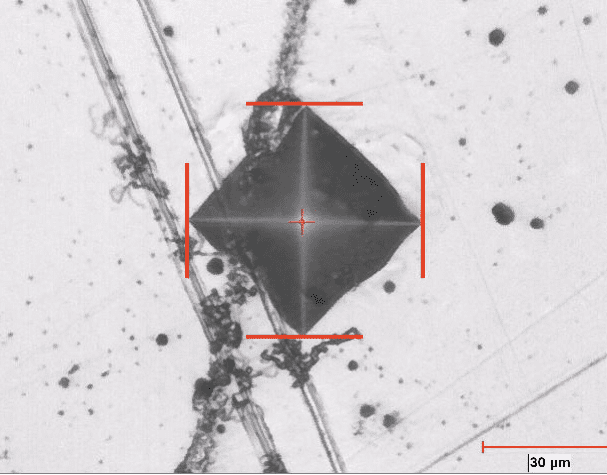
Even the most difficult indentations are measured automatically. The powerful detection precisely measures on e.g. roughly polished surfaces or etched surfaces.
SCAN OF FULL SAMPLE
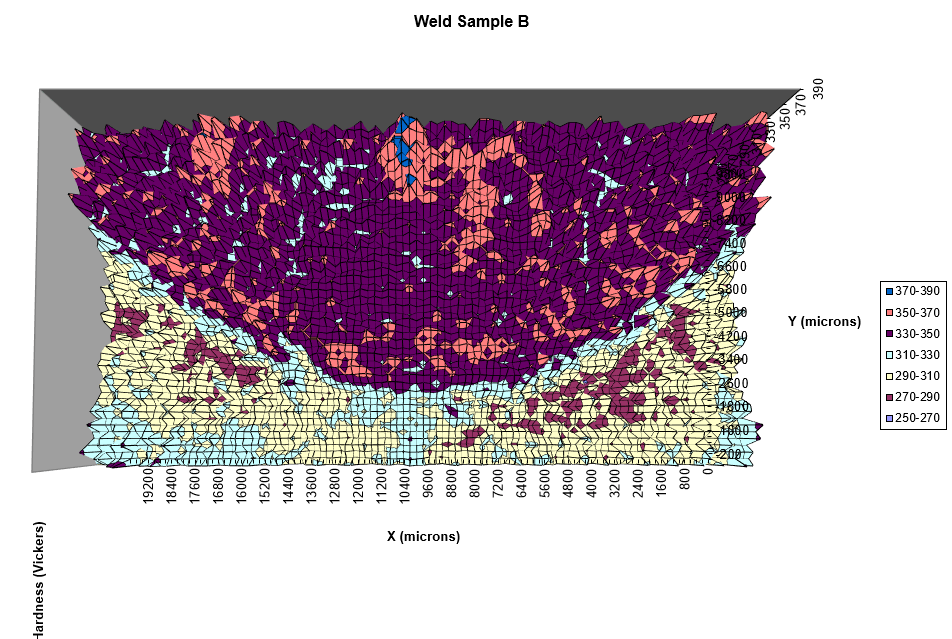
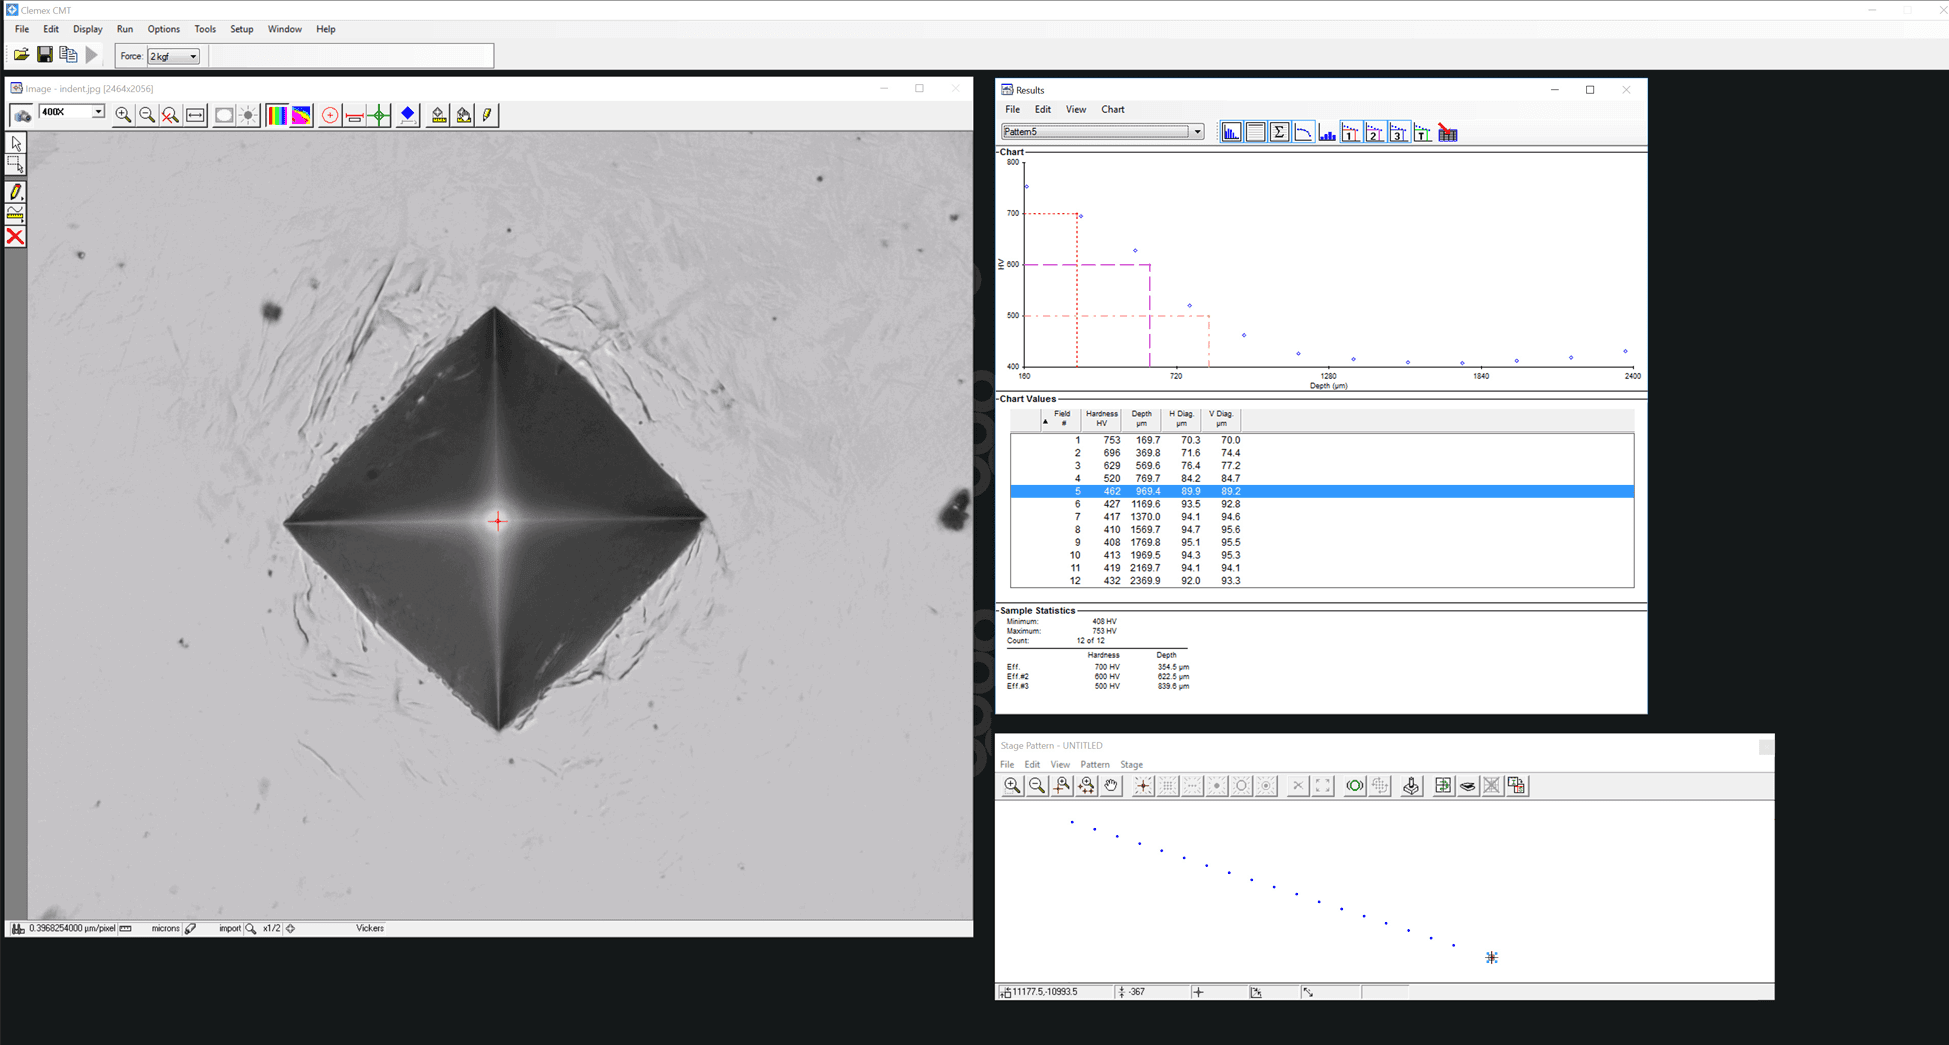
Obtain a detailed map of the entire sample. Navigate around the whole sample and view micro-structural changes, heat-affected and heat-treated zones.
PRECISE POSITIONING
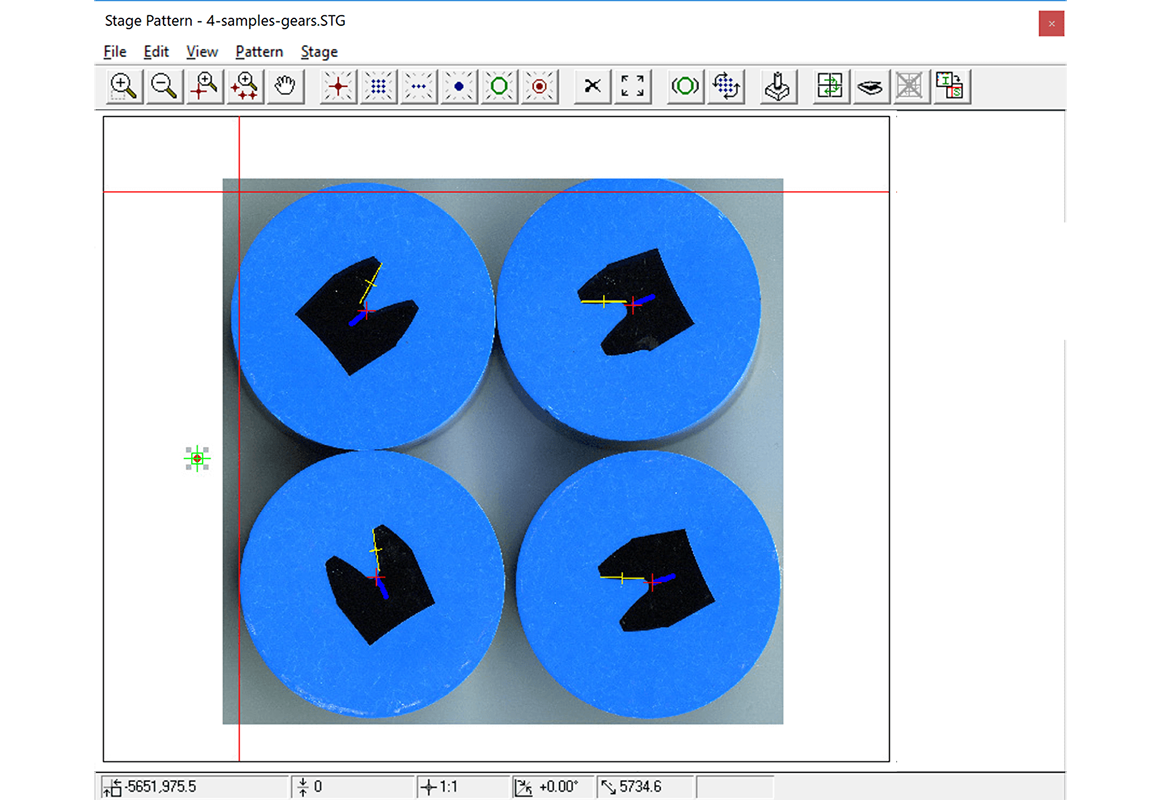
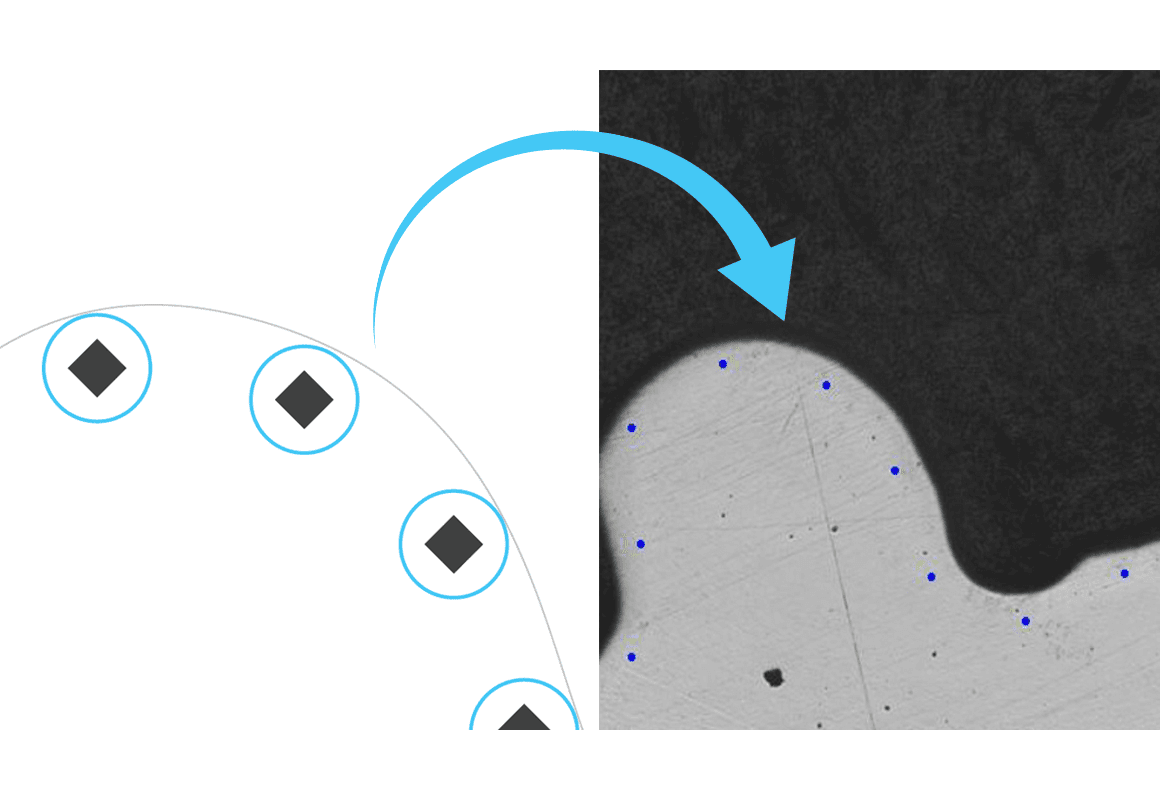
Position indents at even distances from each other or at precise distances from the edge of the sample using the Reference Circle tool.
SAVE AND RELOAD PATTERNS
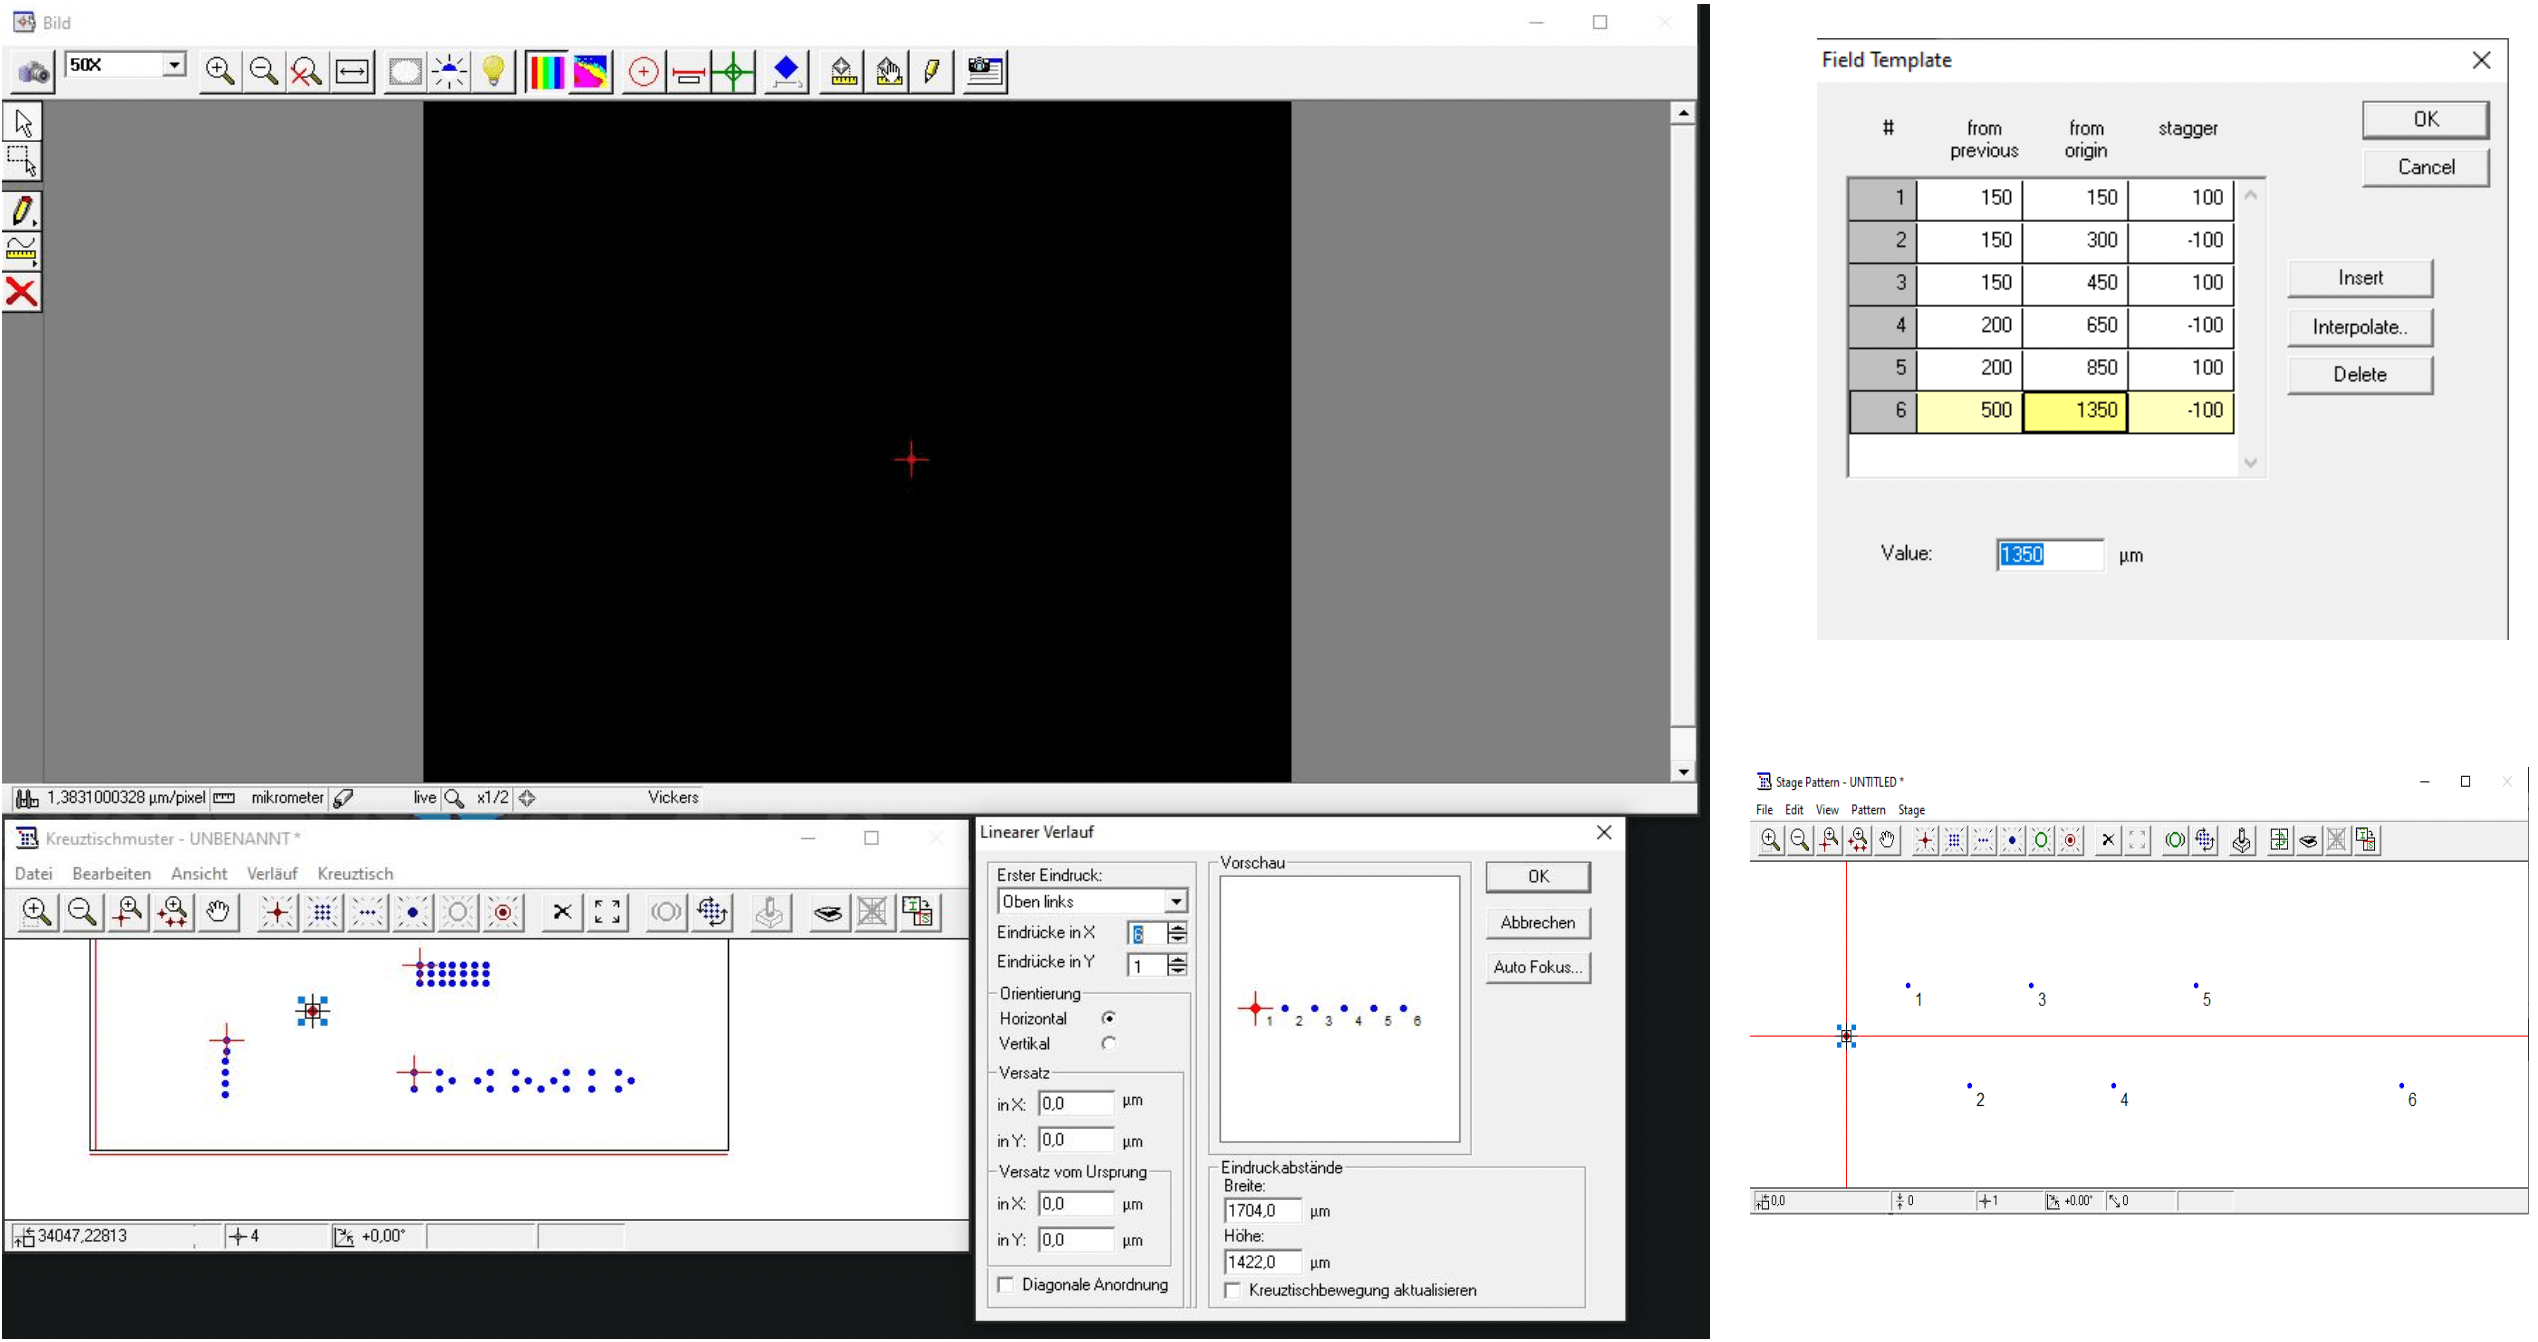
Create multiple patterns easily according to your test requirements (e.g. straight traverses or a matrix). Once a pattern has been created, you can save it and reuse it later to execute another analysis.
CASE DEPTH
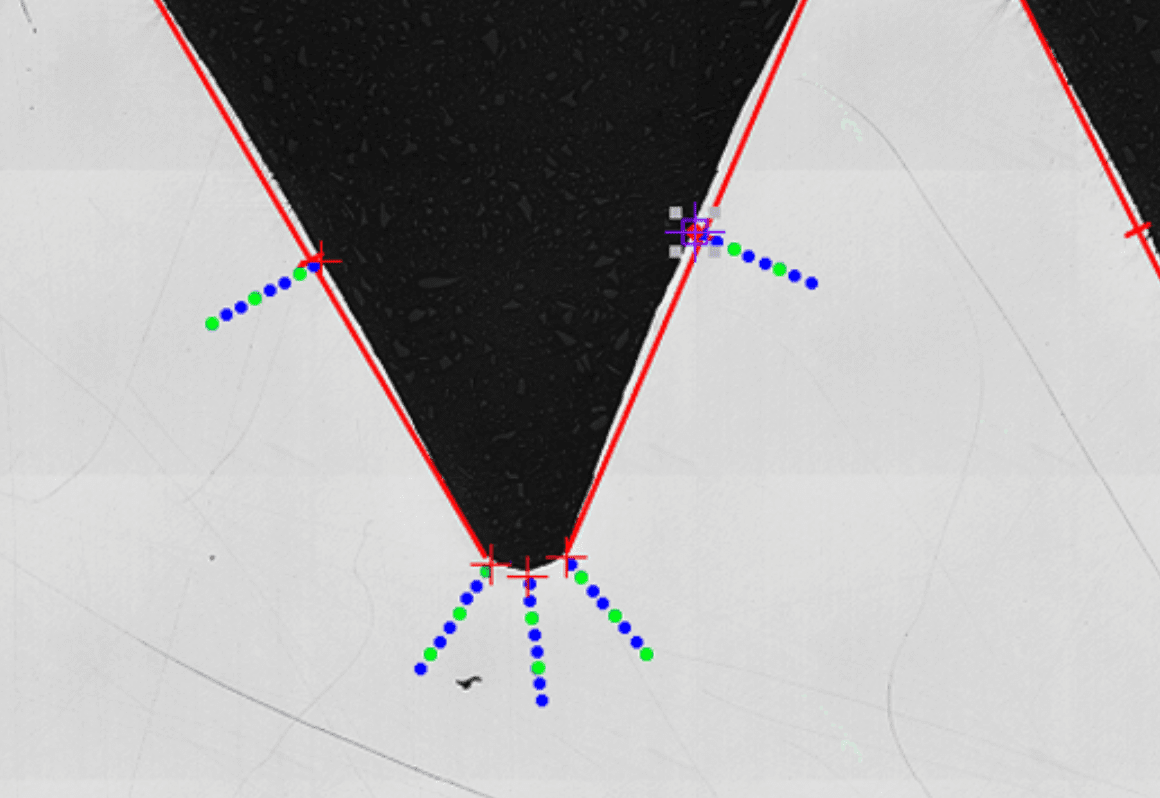
Create hardness traverses automatically using a preview of the sample background, a T-bar tool for a perpendicular alignment of the test points with the sample surface, and options for spacing and staggering indents.
3D HARDNESS MAPPING
RELIABLE RESULTS
CHOOSE YOUR HARDNESS TESTER
Combine the Clemex CMT hardness testing software with one of our hardness testers. You can choose either a single or dual indenter option – depending on your testing requirements. These field proven systems produce accurate and repeatable results and are fully ASTM and ISO compliant.
LOAD SELECTION
LOAD RANGE
TEST STANDARDS
CLEMEX CMT LC
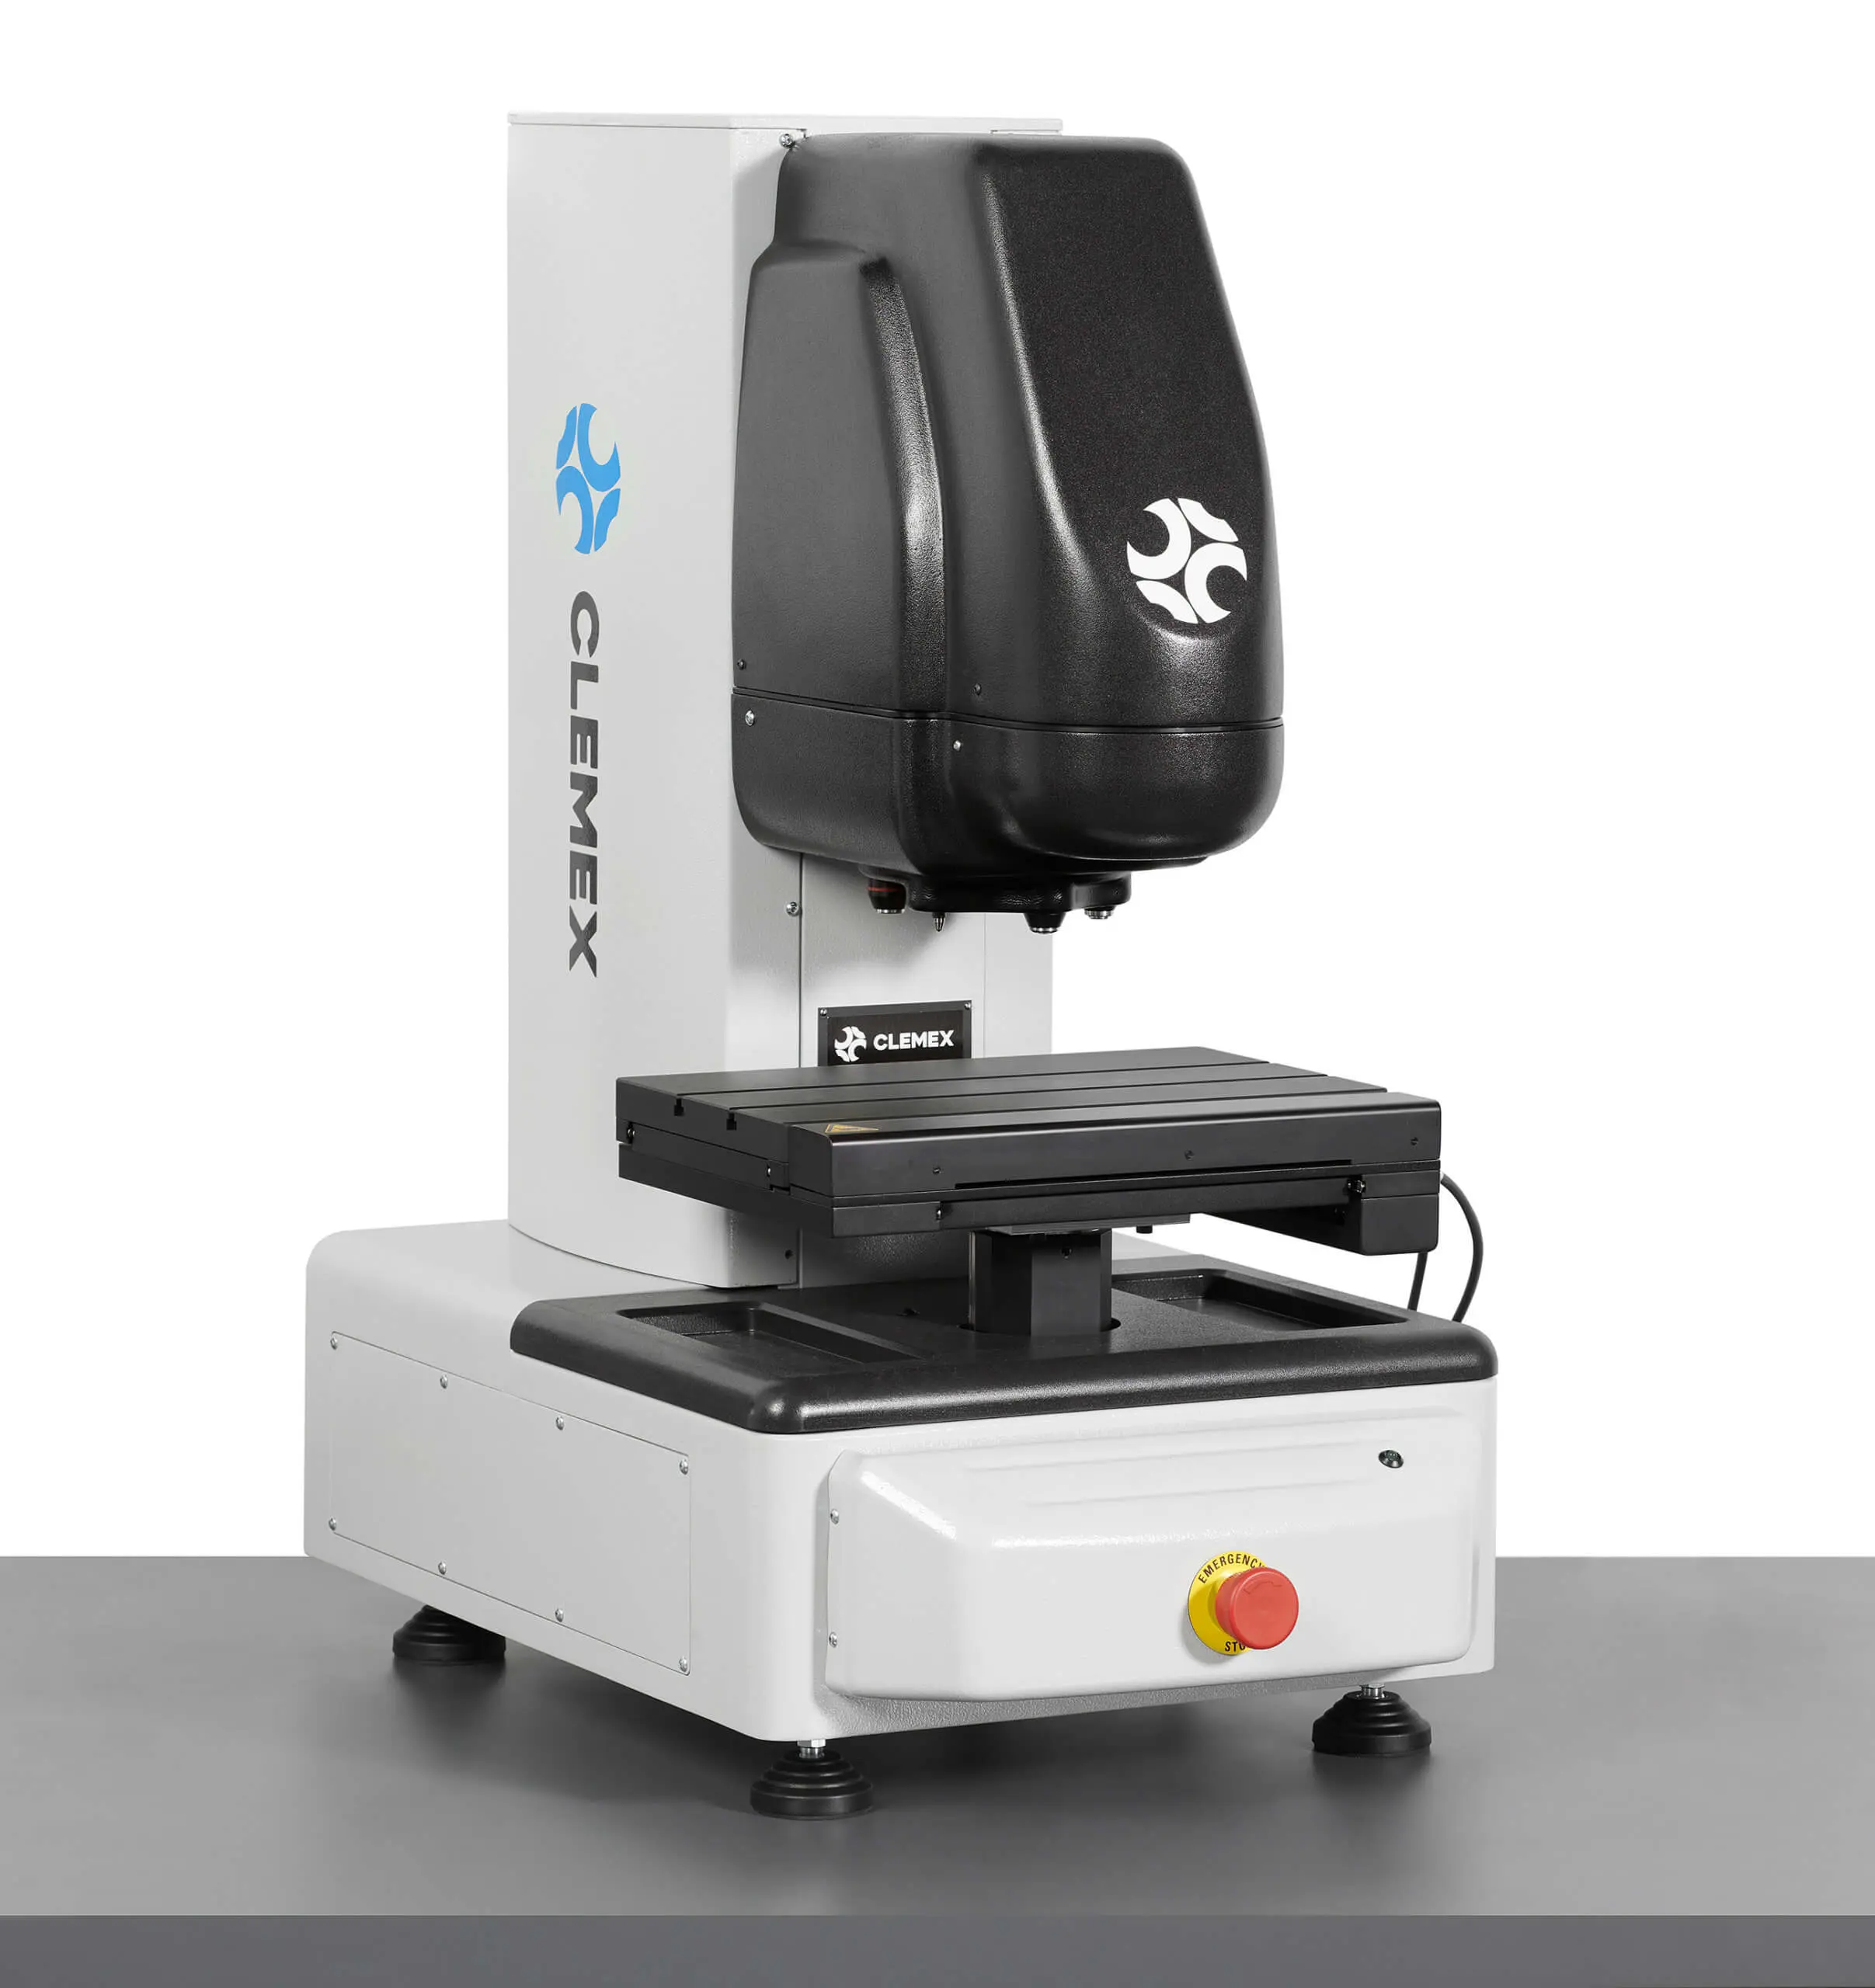
motorized
1 gf ... 62.5 kgf
Vickers, Knoop, Brinell
CLEMEX MICRO D type M
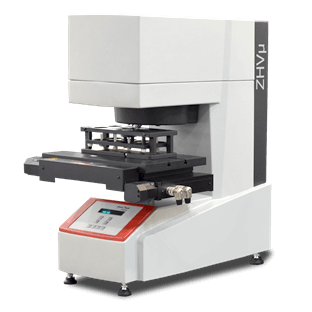
motorized
10 gf ... 2 kgf
Vickers & Knoop
CLEMEX MICRO S type M

motorized
10 gf ... 2 kgf
Vickers
CLEMEX MACRO S
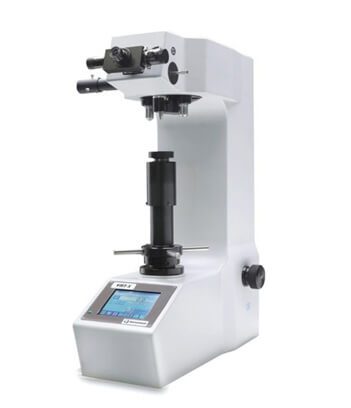
manual
0.3 kgf ... 30 kgf
Vickers
CLEMEX MICRO D type B
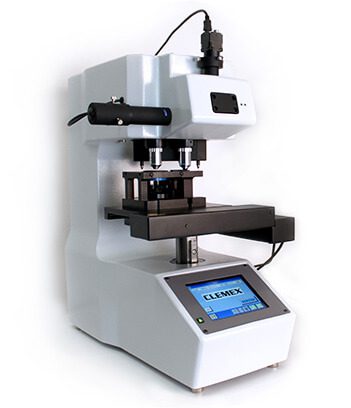
manual
1 gf ... 2 kgf
Vickers & Knoop
CLEMEX MICRO S type A

manual
5 gf ... 1 kgf
Vickers or Knoop
CHOOSE YOUR HARDNESS TESTER
Combine the Clemex CMT hardness testing software with one of our hardness testers. You can choose either a single or dual indenter option – depending on your testing requirements. These field proven systems produce accurate and repeatable results and are fully ASTM and ISO compliant.
CLEMEX CMT LC
- Motorized load selection
- Load range: 1 gf … 62.5 kgf
- Tests acc. to Vickers, Knoop, Brinell
CLEMEX MICRO D type M
- Motorized load selection
- Load range: 10 gf … 2 kgf
- Tests acc. to Vickers & Knoop
CLEMEX MICRO S type M
- Motorized load selection
- Load range: 10 gf … 2 kgf
- Tests acc. to Vickers
CLEMEX MACRO S
- Manual load selection
- Load range: 0.3 kgf … 30 kgf
- Tests acc. to Vickers
CLEMEX MICRO D type B
- Manual load selection
- Load range: 1 gf … 2 kgf
- Tests acc. to Vickers & Knoop
CLEMEX MICRO S type A
- Manual load selection
- Load range: 5 gf … 1 kgf
- Tests acc. to Vickers or Knoop
HOW TO SPECIFY YOUR HARDNESS TESTING SYSTEM
Depending on your requirements, we will help you select the right hardness tester, objectives, indenters, a motorized stage, and a high-resolution camera. We ensure a seamless integration of all components.
- Analysis of your needs by a technical representative
- Configuration, fine-tuning, and calibration
- On-site installation and training of your team


