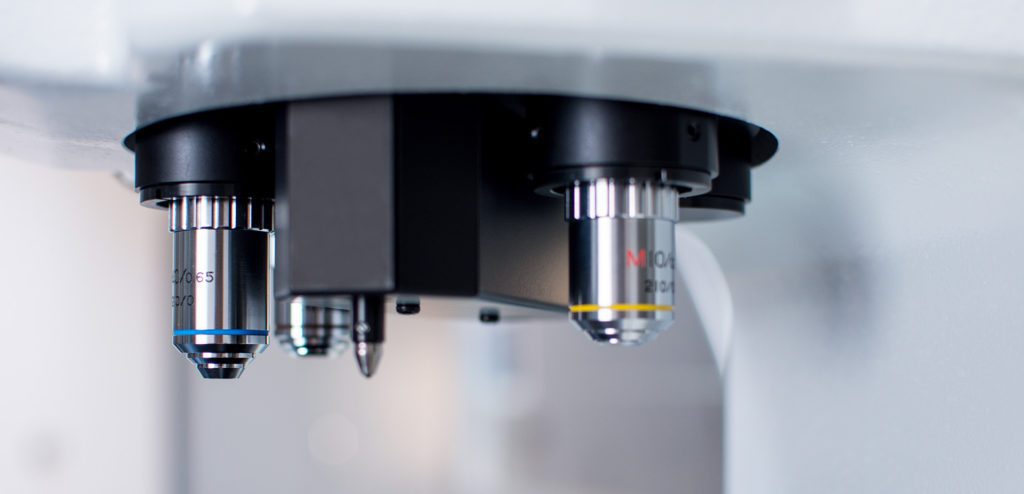
Microhardness testers are advanced instruments used to characterize the mechanical properties of small samples. This encompasses low volume materials and small regions of interest on larger substrates. The levels of detail that can be attained are largely dependent on the capabilities of the testing equipment itself.
Clemex is known for providing cutting-edge solutions for microstructural analysis and materials characterization, using our combined knowledge of various imaging methods and process automation. This has enabled us to develop a series of microhardness testers that forefront user flexibility and convenience, regardless of the required test parameters or objectives.
In this article, we aim to briefly explore some of the working principles of microhardness testers in greater depth. As our proprietary product line champions automation in mechanical analysis, this post will primarily focus on the basics of automated microhardness testers.
Understanding Microhardness Tests
Hardness is one of three interrelated mechanical properties that determine how materials perform in dynamic conditions. Though it is often incorrectly used interchangeably with the others (strength, toughness, etc.), hardness is defined as how well materials withstand applied loads. As a result, researchers can assess material hardness as a function of abrasion, bending, or indentation. The latter is the most common method used in materials characterization, and descriptions of indentation hardness are typically broken down into one of two regimes: macro- or microhardness tests.
Microhardness testers characterize how materials respond to applied loads of up to 1,0000g (10N), using a physical probe known as an indenter. Various types of load testing exist, but the same general principles apply to most test profiles. Typically, a sample is positioned on a high-precision stage and the indenter tip is brought into contact with the surface at negligible loading forces. This force is then applied to a pre-defined set-point, then relaxed and removed at the same rate. It may be appropriate to program a dwell time at the point of maximum loading to acquire the right results.
Using an automated microhardness tester, each of these parameters can be pre-programmed and run automatically to remove the margin for human error and guarantee complete repeatability in your testing chain.
Another key differentiating factor between one type of microhardness test and another is the standard used, and – subsequently – the corresponding probe tip shape. Vickers hardness testing according to ASTM and ISO standards, for instance, uses a pyramidal probe while Knoop hardness uses a characteristic extended pyramid with a wider length-to-width ratio.
Microhardness Testers from Clemex
At Clemex, we offer a wide range of automated microhardness testers equipped to perform Vickers, Knoop, and Brinell hardness testing with interchangeable indenters and a selection of user-programmable performance features. If you would like to learn more about how our systems work in specific application areas, simply contact a member of the Clemex team today.

