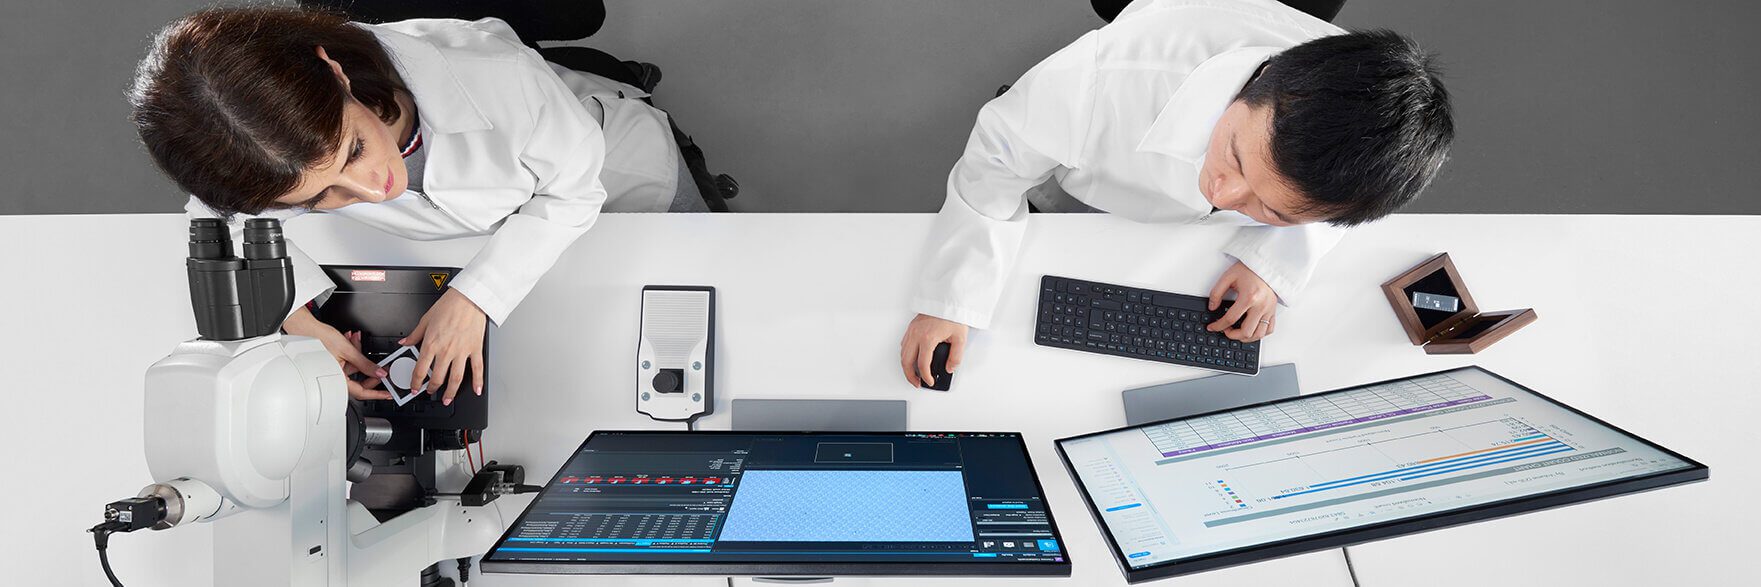
Microscopic imaging systems are critical to an array of biochemistry, life sciences, and general materials research applications. Prior to the development of the compound microscope, it was impossible to observe fundamental properties that now underlie our comprehension of physical matter. Conventional microscopy systems transformed the way we see the world, and through constant innovation and technical ingenuity, we can now readily observe phenomena on sub-microscales.
While the likes of scanning electron microscopy (SEM) and atomic force microscopy (AFM) have continually scaled-up in terms of resolving power, traditional microscopy systems have expanded to satisfy a wider range of user objectives. This increasing complexity is extremely valuable, but it can also lead to undesirable variability.
To guarantee the accuracy and integrity of your results, it is important to conduct routine calibration of your microscopy system.
How to Calibrate Your Microscopy System?
Calibration refers to the way you bring your microscopy system in-line with a given standard, to ensure that your observations accurately reflect critical properties. Consider that your lens has a nominal resolving power but does not typically offer a reference to the actual scale of an observed object. By using a linear reference, you can obtain the best optical magnification and depth of field for your study and your specific optical array.
The preferred method of calibrating microscopy systems is to use a fully-traceable stage micrometer; a microscope slide with a built-in reference like a grid or reticle. Using the embedded reference, it is possible to not only magnify and observe specimens but to rapidly measure them too. These same principles are used to ensure that images acquired by built-in software are faithful representations of the magnified specimen.
At Clemex, we offer a certified stage micrometer designed for regular calibration of microscopy systems. The reference is comprised of concentric rectangles that allow you to calibrate for various objectives at different magnifications without having to adjust the slide. The micrometer can be use for auto calibration where the user is not involved in the measurement but the assessement is done automatically, hence a repeatable method and a non biased measurement. This is particularly important for the industries, like pharma, who needs to be compliant to 21 CFR Part 11.
With a reflected mirror surface, it is ideal for ensuring measurement accuracy and adjusting key imaging parameters such as color balance and shading imperfections. This is particularly important as microscopy systems increasingly more towards automated image acquisition and processing.
Why Calibrate Your Microscopy System?
As mentioned, it is crucial to perform calibration to ensure that your measurements and observations and accurate and reliable, but the impact of errors will vary from market-to-market. It could mean the difference for products in pass/fail testing or result in non-conformity with mandatory standards. The risks of not calibrating your microscopy system may stem beyond simply poor results, tipping into excess costs and – in extreme cases – regulatory misconduct.
With a Clemex stage micrometer, you can rest assured that your measurement results are accurate and fully-traceable. If you would like to learn more about how we can help you make the most of your microscopy systems, simply contact a member of the Clemex team today.


