Coating and inconel characterization
Six inconel samples with different coatings have been submitted. for analysis. Clemex Vision was used to measure the layer thickness and porosity of the samples.
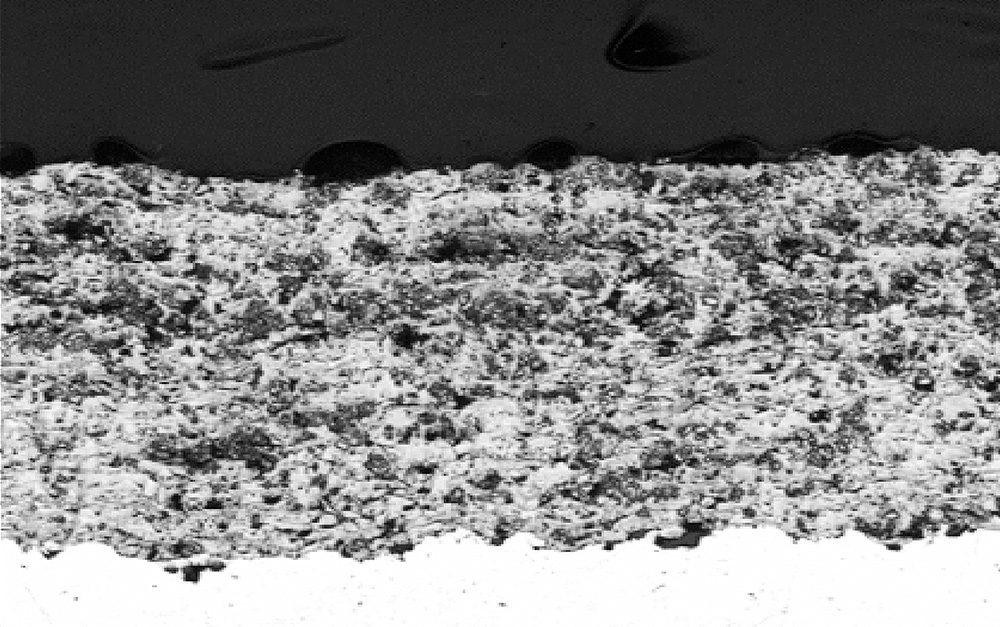
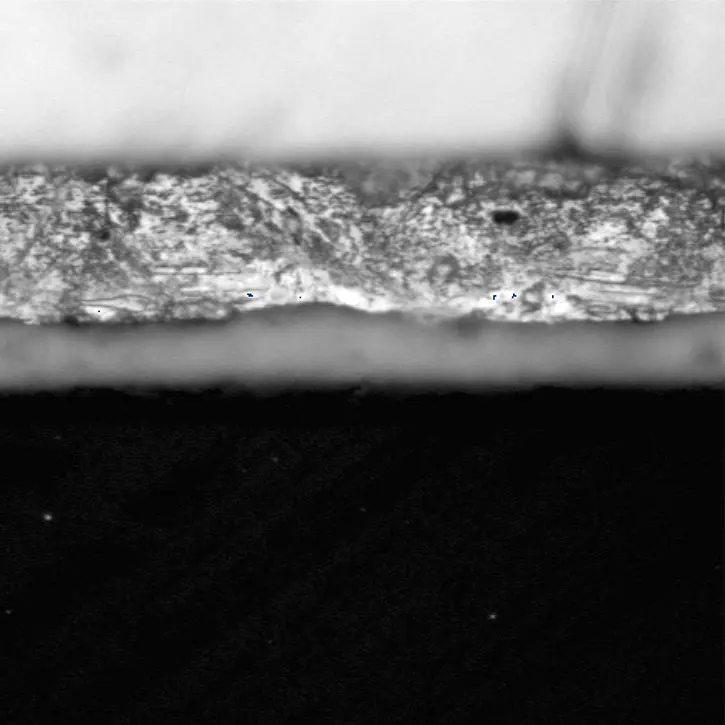
Figure 1. A typical image of the coating being analyzed, as observed at 100X magnification (0.9810 µm/pixel).
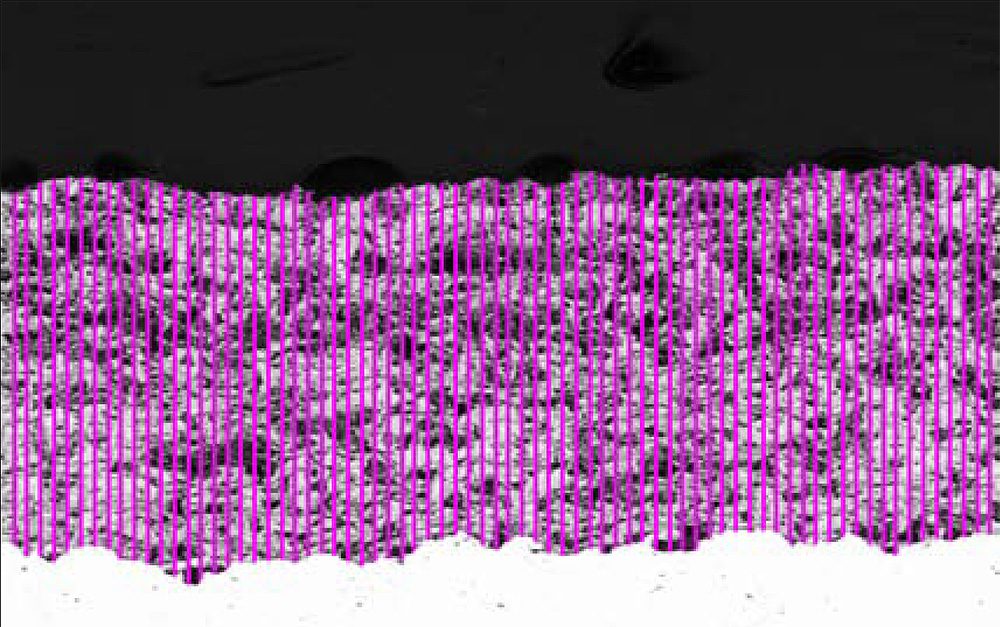
Figure 2. Multiple measurement of the thickness of the coating are considered in order to adequately characterize the layer.
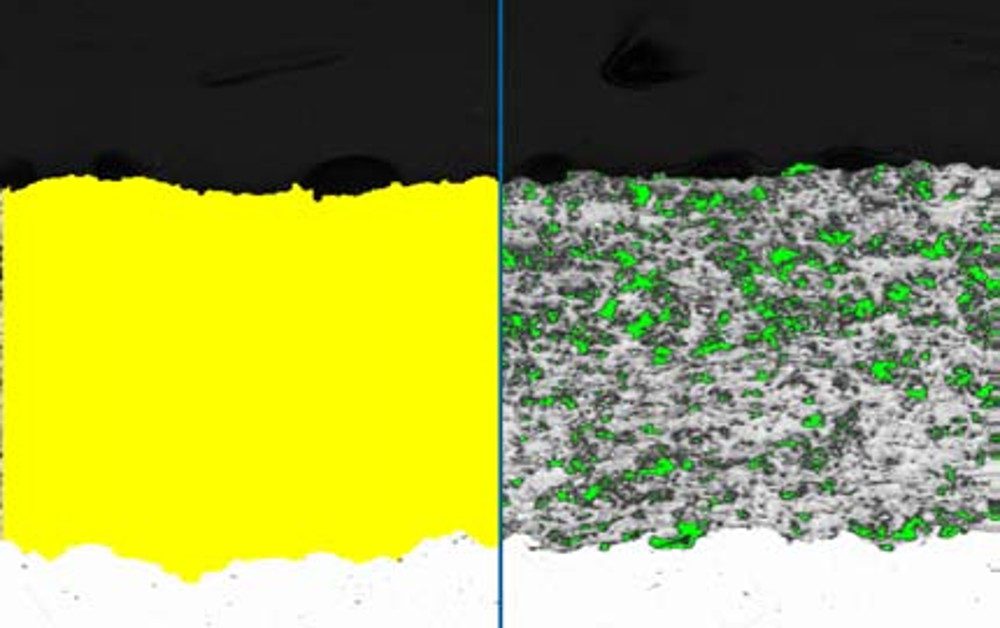
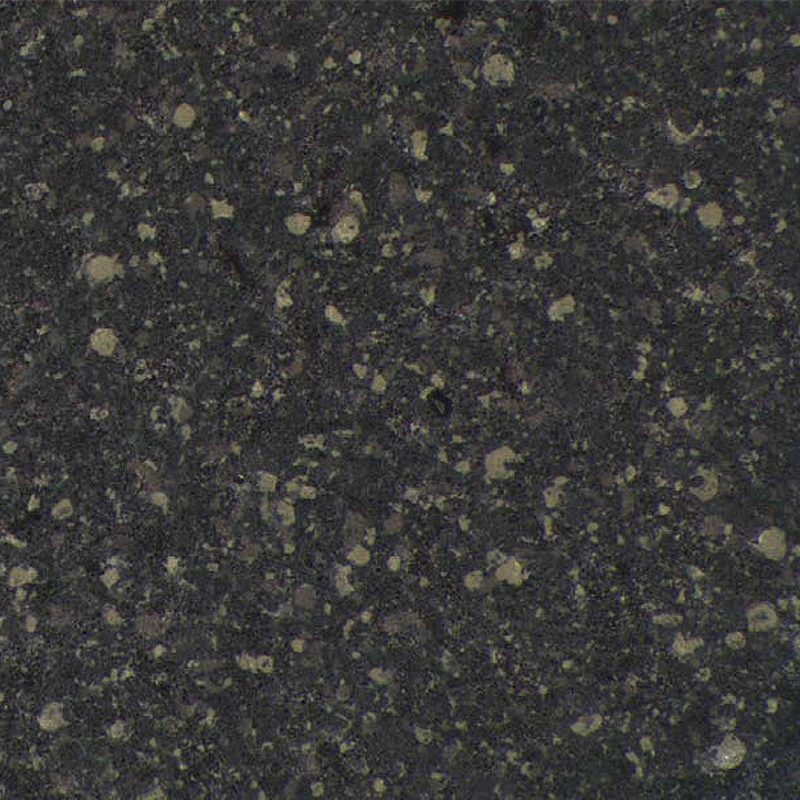
Figure 3. The pores are detected (green) and their area is measured. The area of pores is compared to the total area of coating to obtain the porosity.
PURPOSE
Demonstrate the ability of Clemex Vision image analysis software to perform the following analyses:
- Average thickness of coatings
- Distribution of the coating constituents
- Particle distribution of coatings
- Porosity percentage of coatings
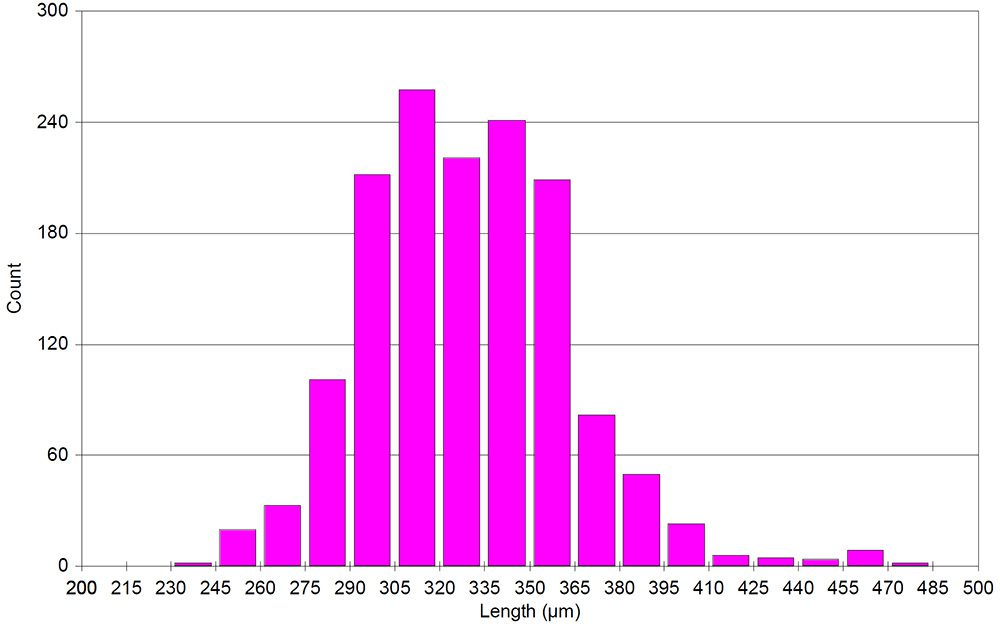
- Length distribution of oxides (globular or stringer) within the substrate
- Thickness of the gap on the bond/substrate interface
- Thickness of the gap on the bond/bond interface
RESULTS
The length distribution analysis of oxides required that only inconel be visible in the field of view. The magnification used was 100X (0.9810 µm/pixel). This was sufficient to detect objects as thin as 1 or 2 microns. A Chord Size instruction was used to exclude small objects that should not be considered in the analysis.


