Coating characterization of silicon carbides
One silicon carbide coated specimen is submitted. Clemex Vision PE is chosen to identify each layer and measure the coating thickness.
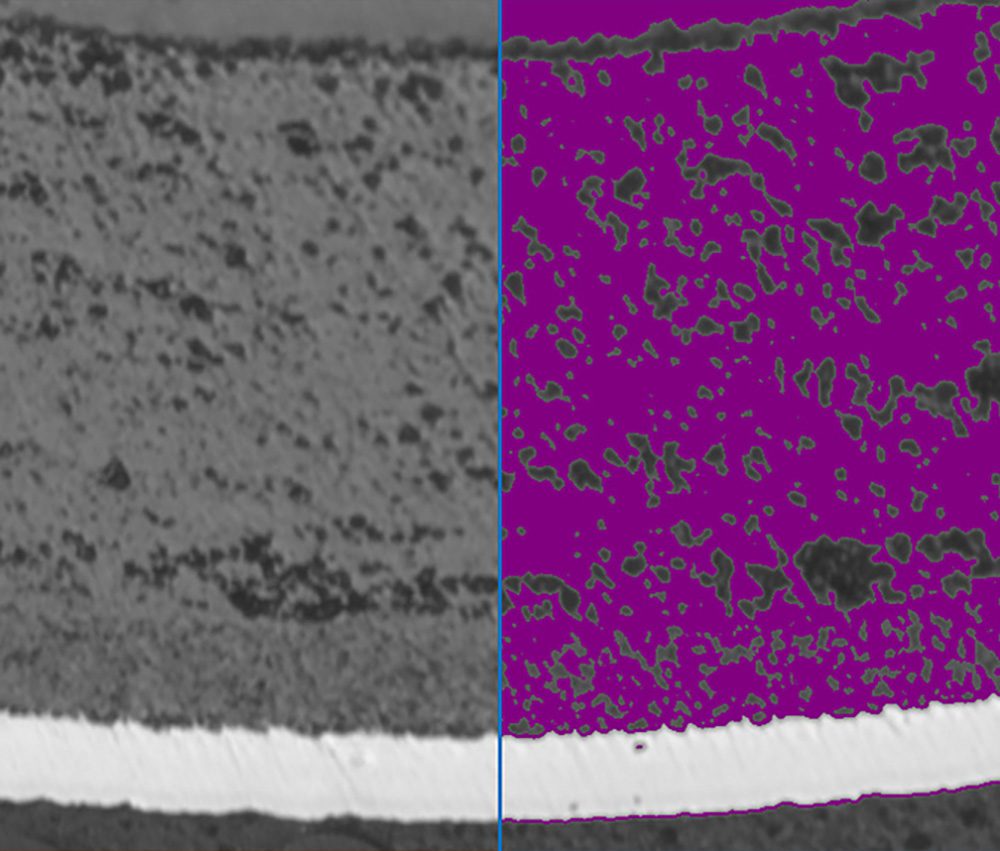
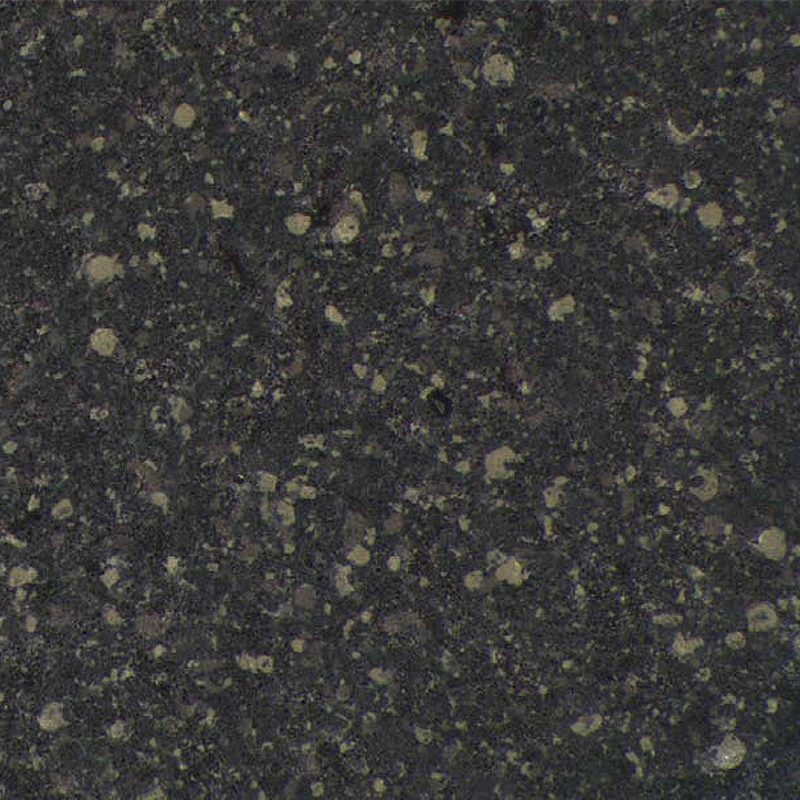
Figure 1. The microstructure of silicon carbide coating is viewed at 500X magnification. Half of it is covered by the binarization layer for the demonstration purposes.
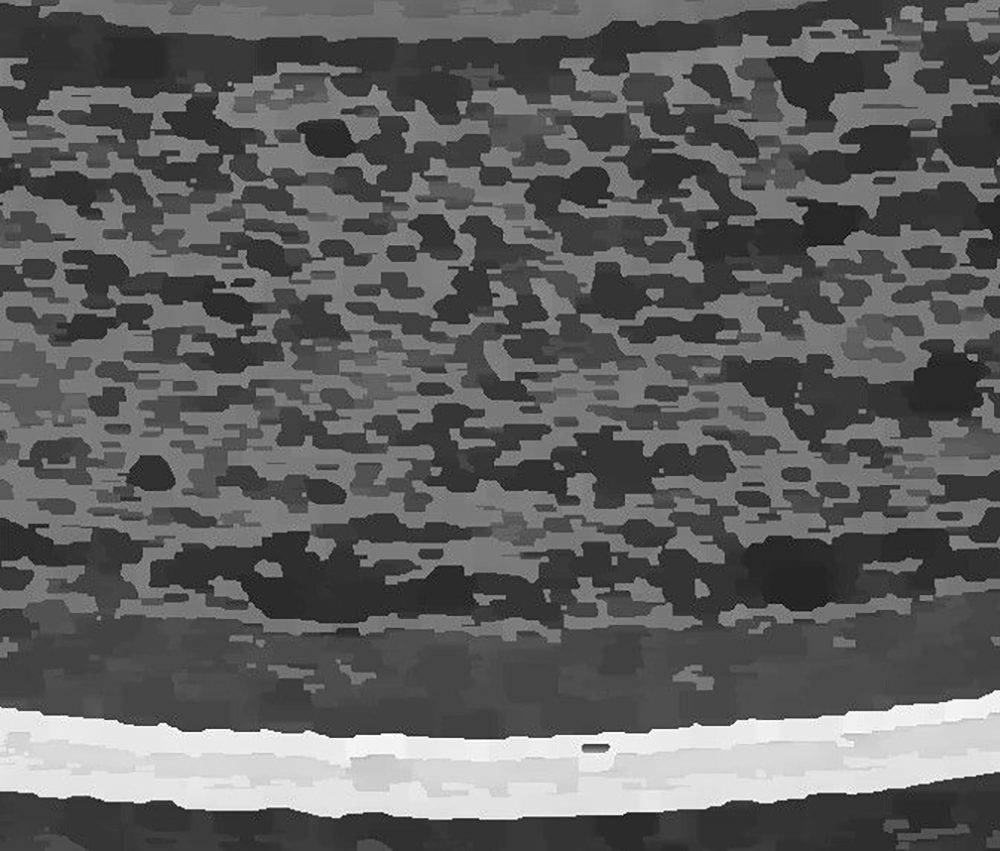
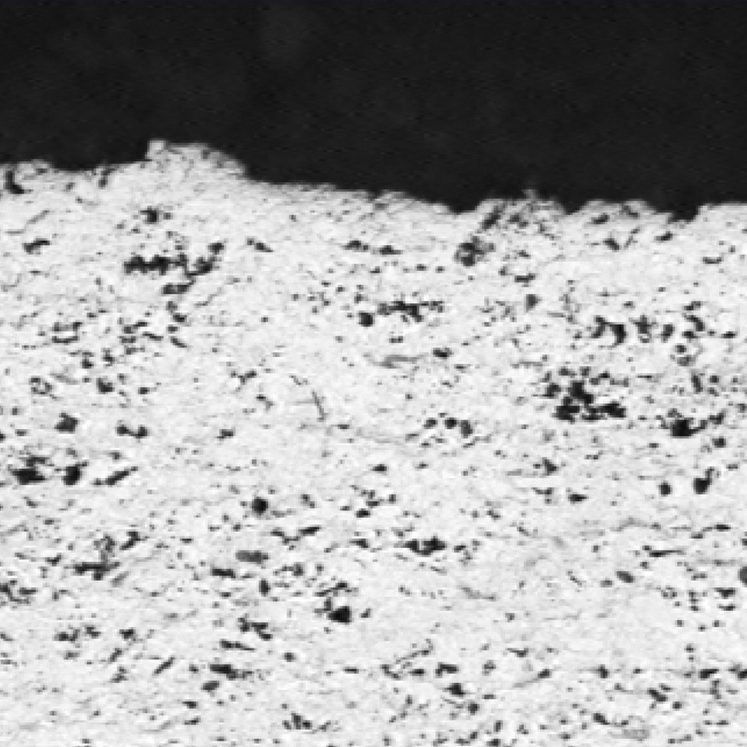
Figure 2. The original image after several gray operations.
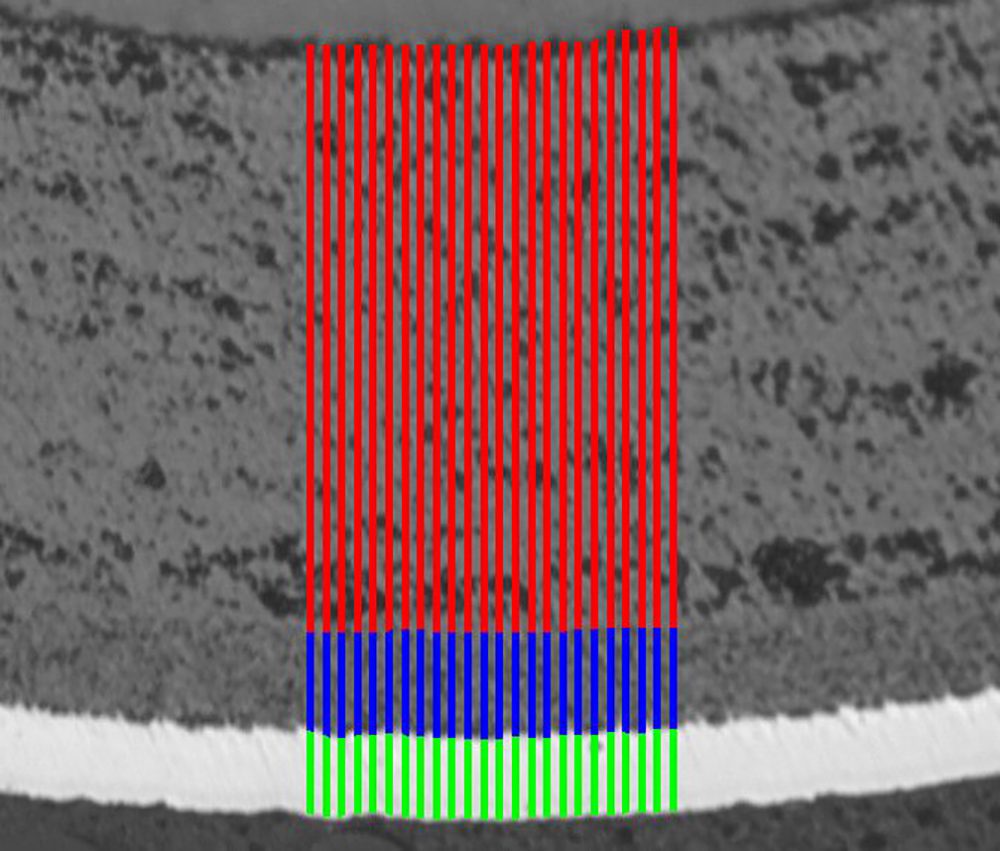
Figure 3. Final detection of the 3 coatings overlay against the original image.
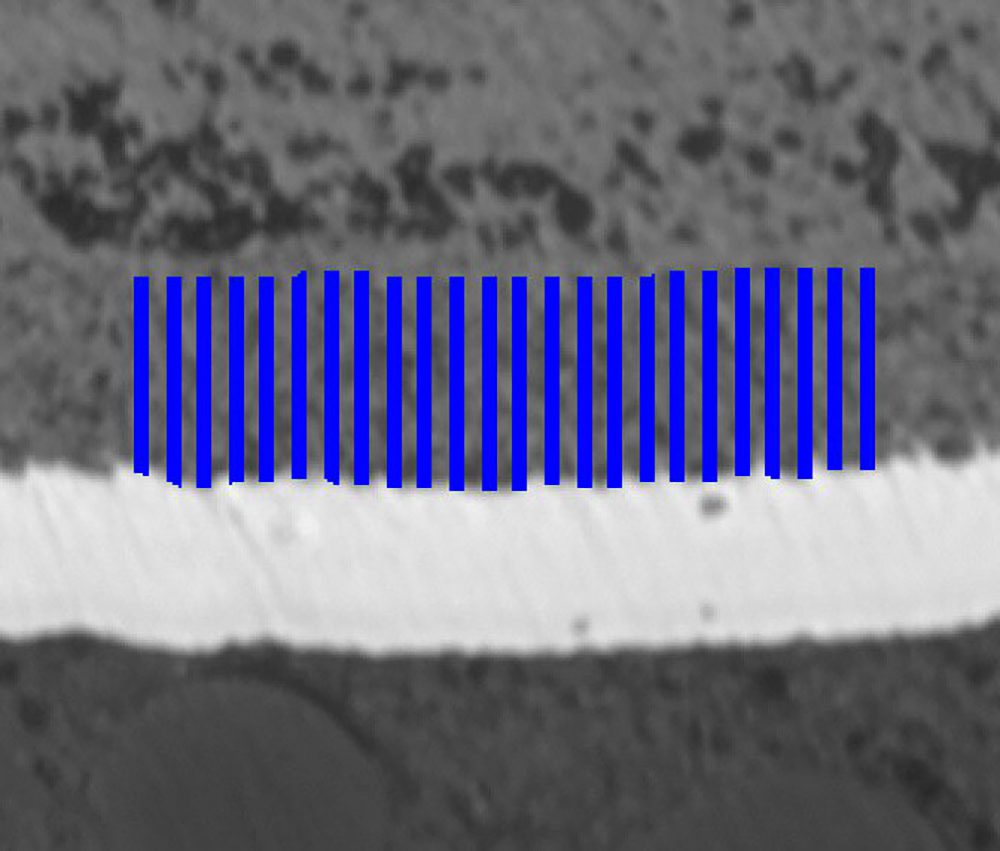
Figure 4. Zoomed image of the middle coating detection. Each line is measured to obtain a distribution of the coating thickness.
PURPOSE
Demonstrate the ability of the Clemex Vision image analysis system to perform the coating analysis on samples containing three coatings. The methods and operations used are discussed in the report linked at the bottom of this page (click the Download PDF link below).
RESULTS
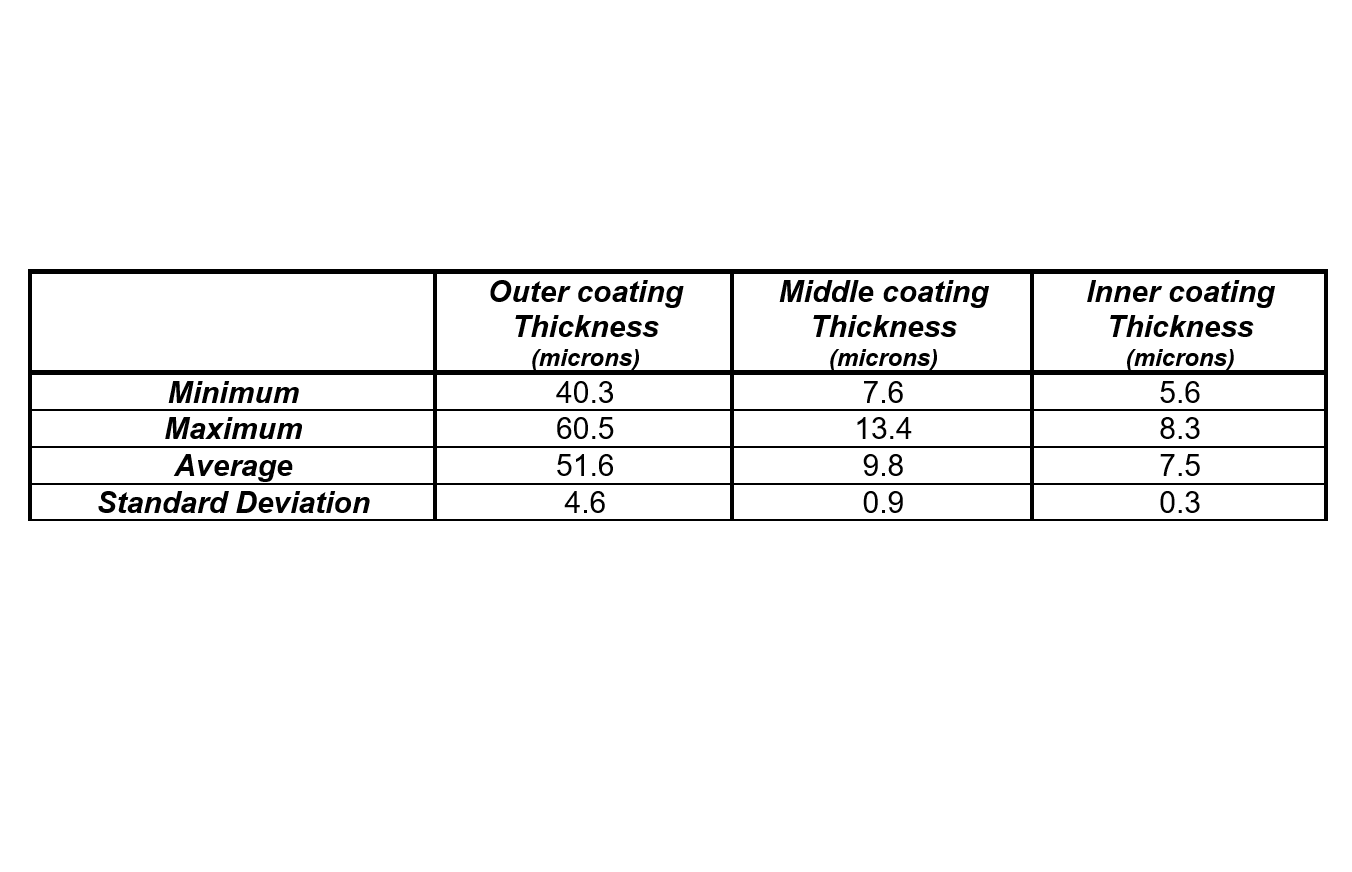
Measurements are performed on measuring lines to obtain a distribution of the coating thickness. Final results can be printed directly from Clemex Vision. Raw data are linked to their respective objects for validation purpose. Raw data can also be exported in Excel format.


