Microhardness (Knoop)
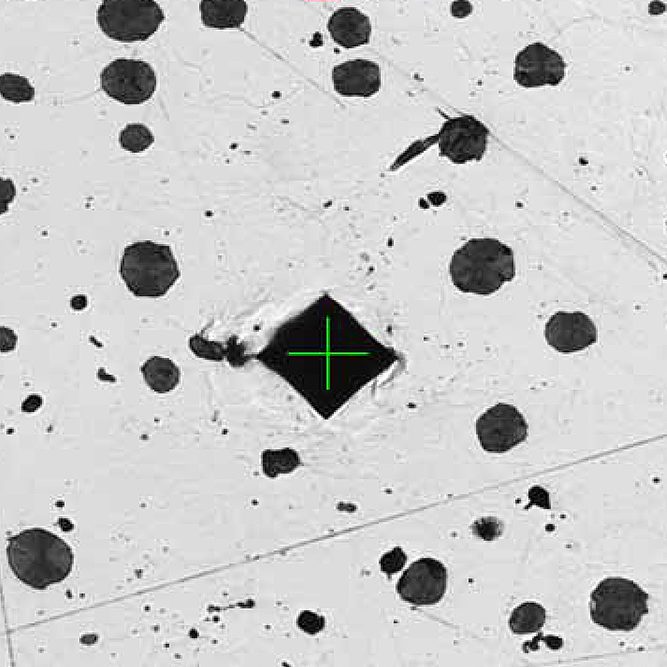
One sample of steel plated with nickel and hard chromed is submitted for hardness measurement.
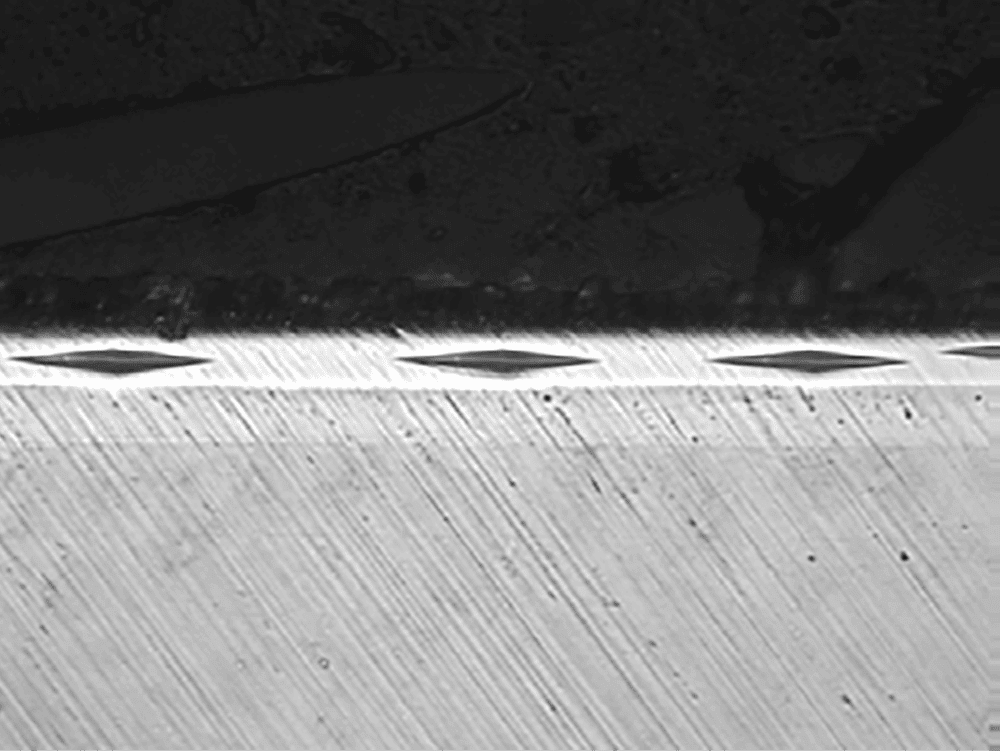
Figure 1. The original image with three of the five Knoop indents.
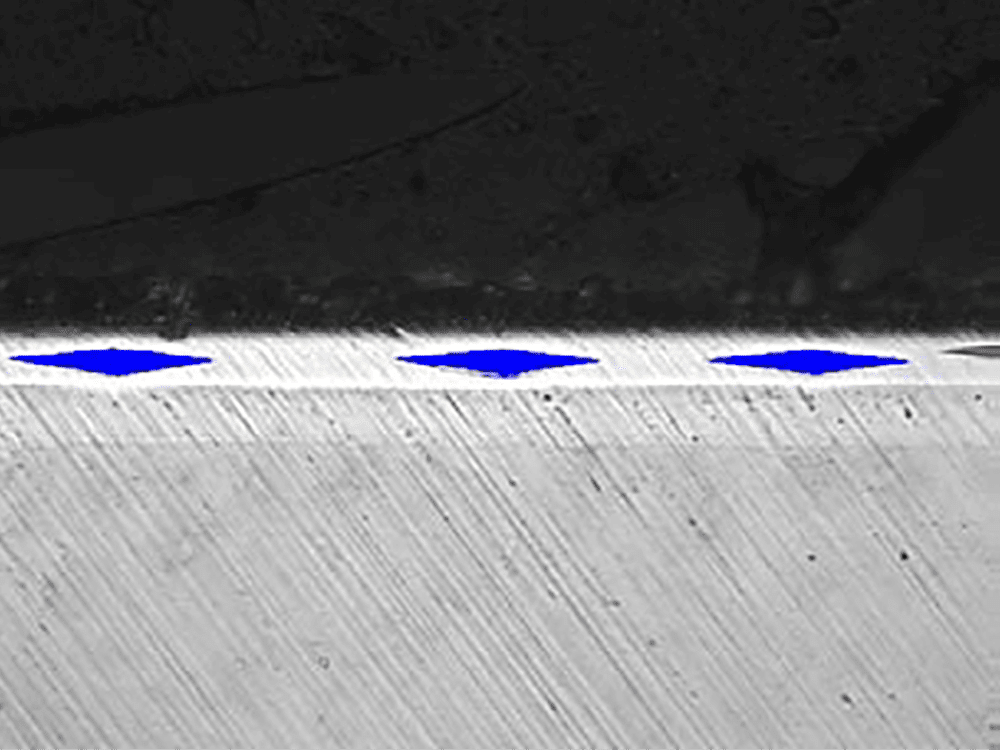
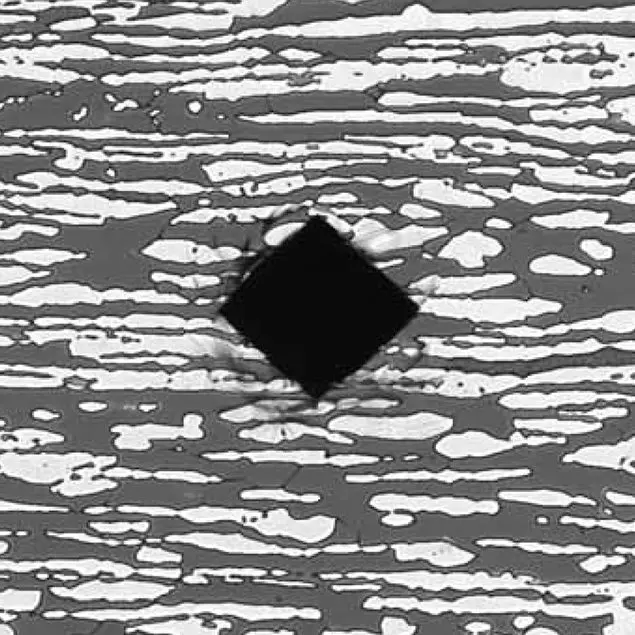
Figure 2. Indents as measured, binarized into blue bitplane.
PURPOSE
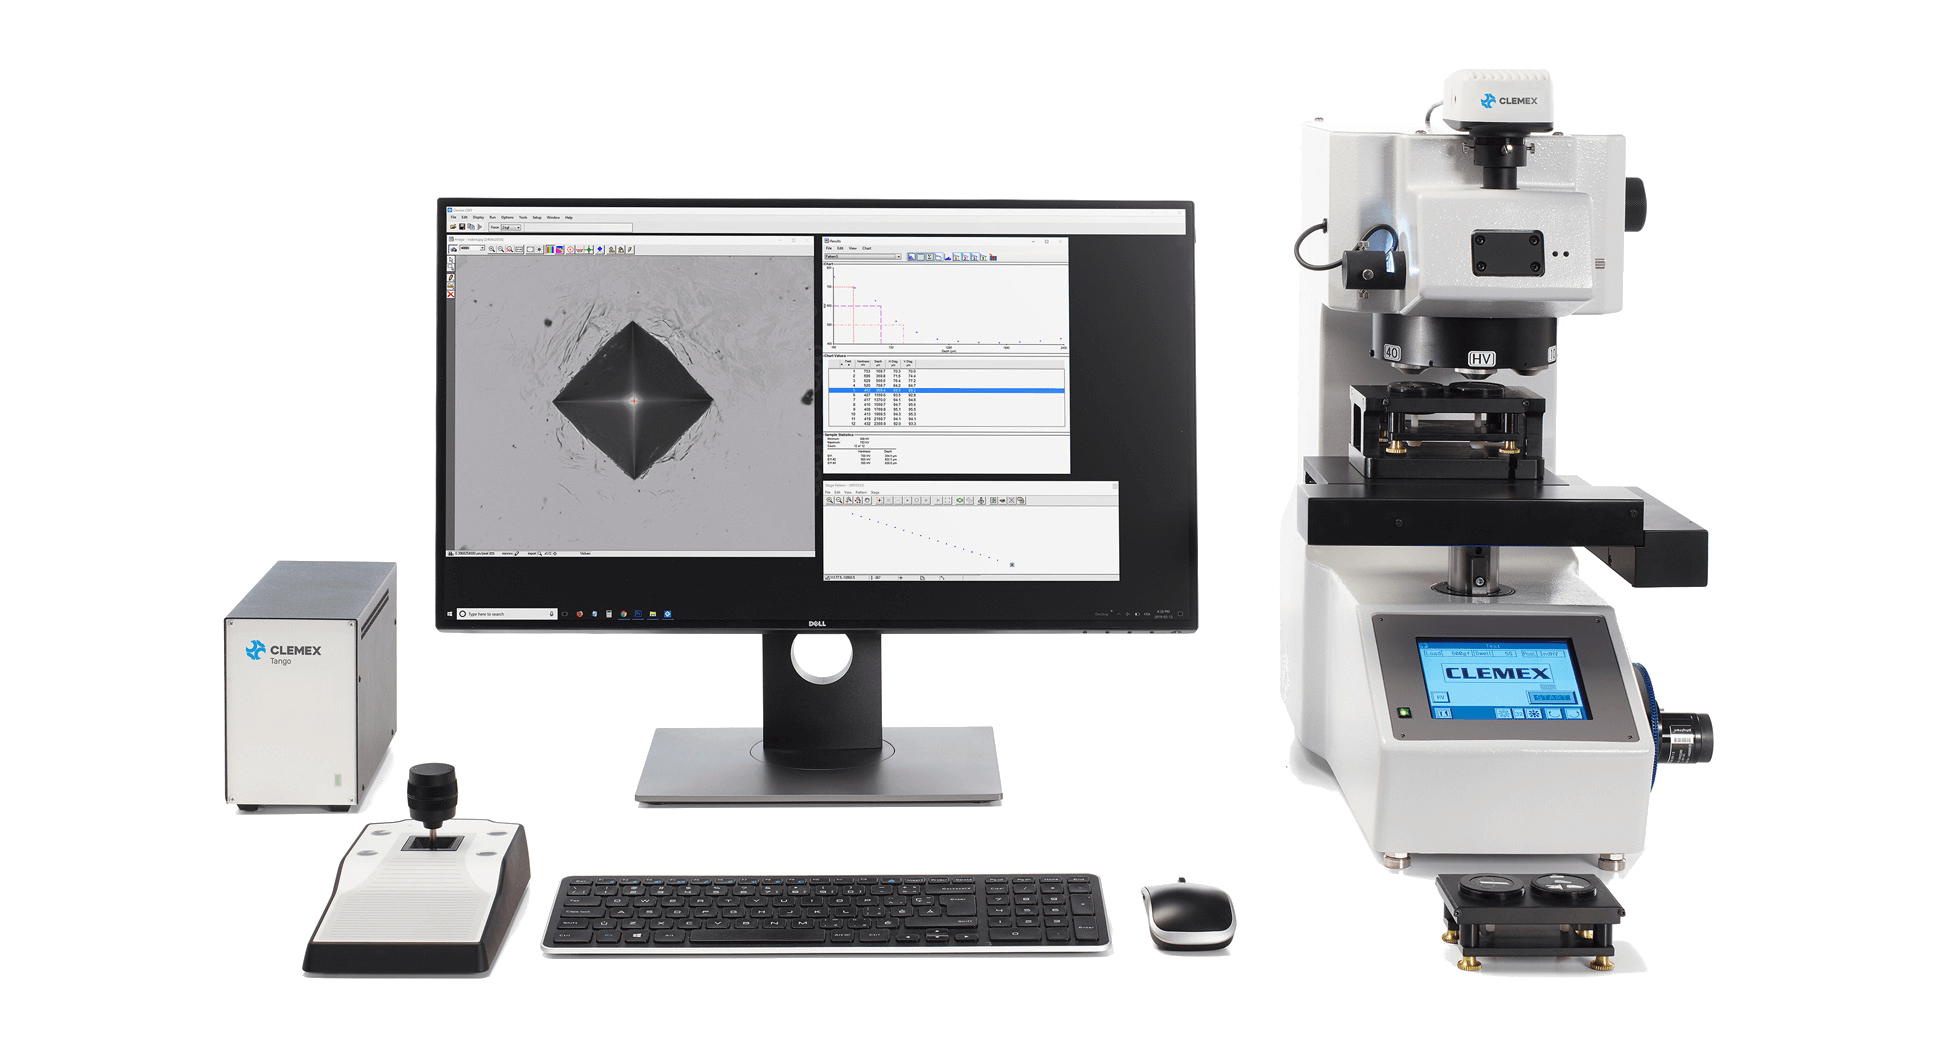
Demonstrate the ability of Clemex CMT to automatically perform and measure indentations on the coating. The technical report is linked at the bottom of this page (click the Download PDF link below).
RESULTS
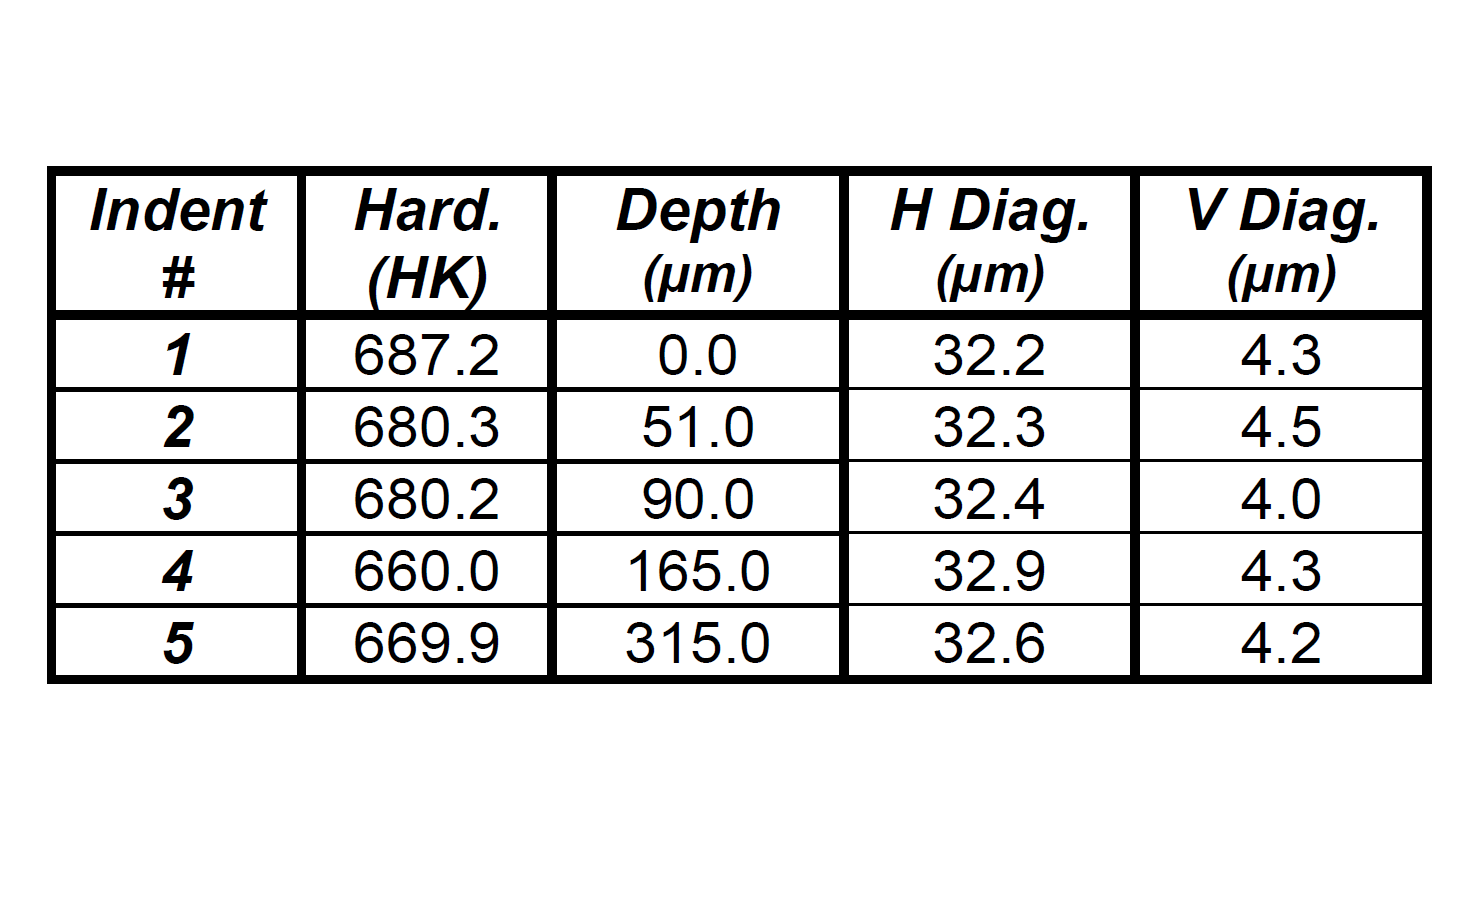
The measurements were repeated on the 5 indents for three times. The Knoop indents were all around 32 µm in length and 4.5 µm in width. Final results can be printed directly from Clemex CMT. Raw data can be exported in Excel format.


