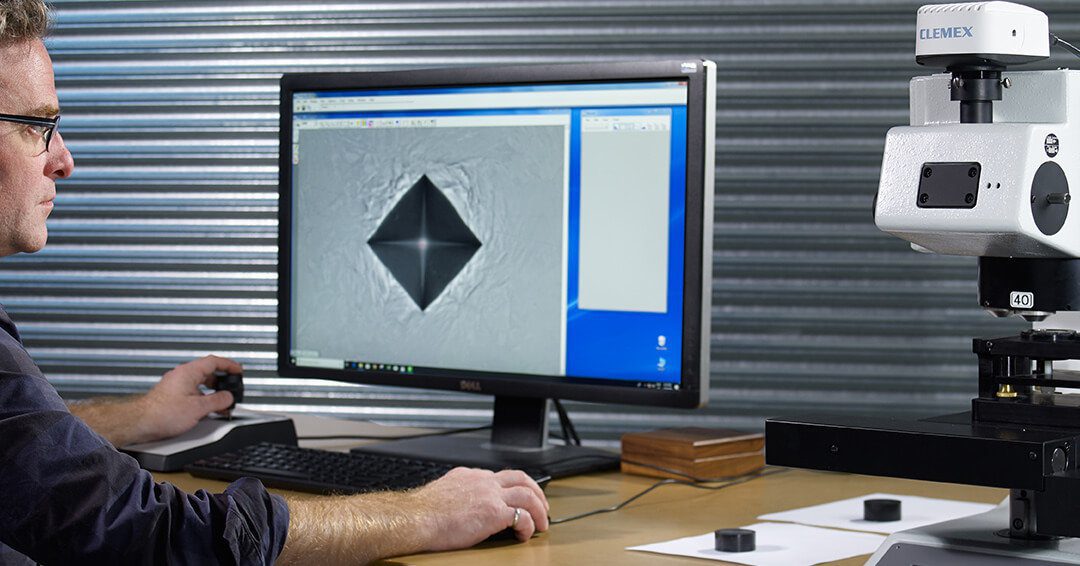
Hardness testing has evolved. Although most industrial-scale and production environment indenters still employ the Rockwell method to determine the macro hardness of heavy gauge materials, this technique is unsuitable for many different components and materials. Superficial Rockwell hardness was developed to test components that are incompatible with the standard method, but these scales cannot compete with the advanced flexibility and precision of micro indentation hardness testers.
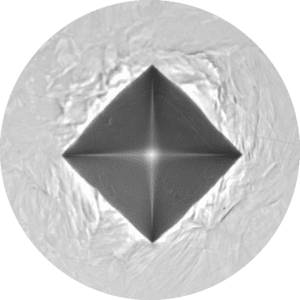
Micro indentation hardness testers apply comparatively weak loads to surfaces using specialized probe tips, with in-built high-resolution microscopy or in situ imaging enabling extremely accurate analysis of surface deformation. This allows researchers to probe thin or brittle materials and small components with absolute confidence. Yet the functionalities of hardness testers vary from device to device.
So, how can you choose the best hardness tester for your application? Here are a few things you should consider.
What Materials are you Testing?
The best hardness tester for your specifications first and foremost depends on your materials of interest. Brinell testing is routinely used for probing metallic alloys, such as aluminum at low loads and steel forgings at high loads. It is also used to test localized hardness variations in uneven surfaces.
Knoop testing and Vicker’s hardness are more closely related, thus harder to differentiate. Both are used for hardness testing of brittle materials and extremely thin workpieces, such as ceramics, glass, or thin coatings. At Clemex, we typically recommend Vickers over Knoop microhardness testing as it is the most reliable technique for measuring bulk material hardness. However, if you have a very brittle sample, Knoop indentation can reduce the likelihood of cracking.
What Data Do You Need?
Often it is enough simply to indent the surface, measure the impression, and calculate hardness according to one of several arbitrary scales. Yet modern indenters can provide a wealth of additional information that may add value to your experimentation. By coupling a highly automated micro indenter with built-in high-resolution optics, you can acquire vivid in situ information regarding phase composition, layer thickness, grain size, particle size, and more.
How About Reproducibility?
Hardness testing is a complex process as it indicates a quality rather than a characteristic. This means that accuracy and reproducibility are extremely important, particularly in materials characterization and production assurance. Optimizing these parameters requires precise positioning of both sample stages and indenters, alongside fully reliably measurement instrumentation. If you are carrying out routine micro hardness testing, it is best to use an automated analysis system that mitigates subjectivity and positioning inaccuracy every time.
Microhardness Testers from Clemex
Clemex is one of the industry-leaders in high-end image analysis and microstructural characterization. By partnering with experts in the field of micro indentation, we have developed a suite of precision hardness testers with accuracy and automation in mind. The Clemex CMT empowers users fully automated hardness testing according to ASTM and EN standards, expanding your productivity. Our systems are also compatible with a range of indenter tips, ensuring you are never locked into a single hardness testing method.
If you would like more information about our proprietary hardness testers, simply contact a member of the Clemex team today.


